How to add the Workvivo integration to Workshop
Follow the instructions below to enable email cross-posting to Workvivo Intranet.
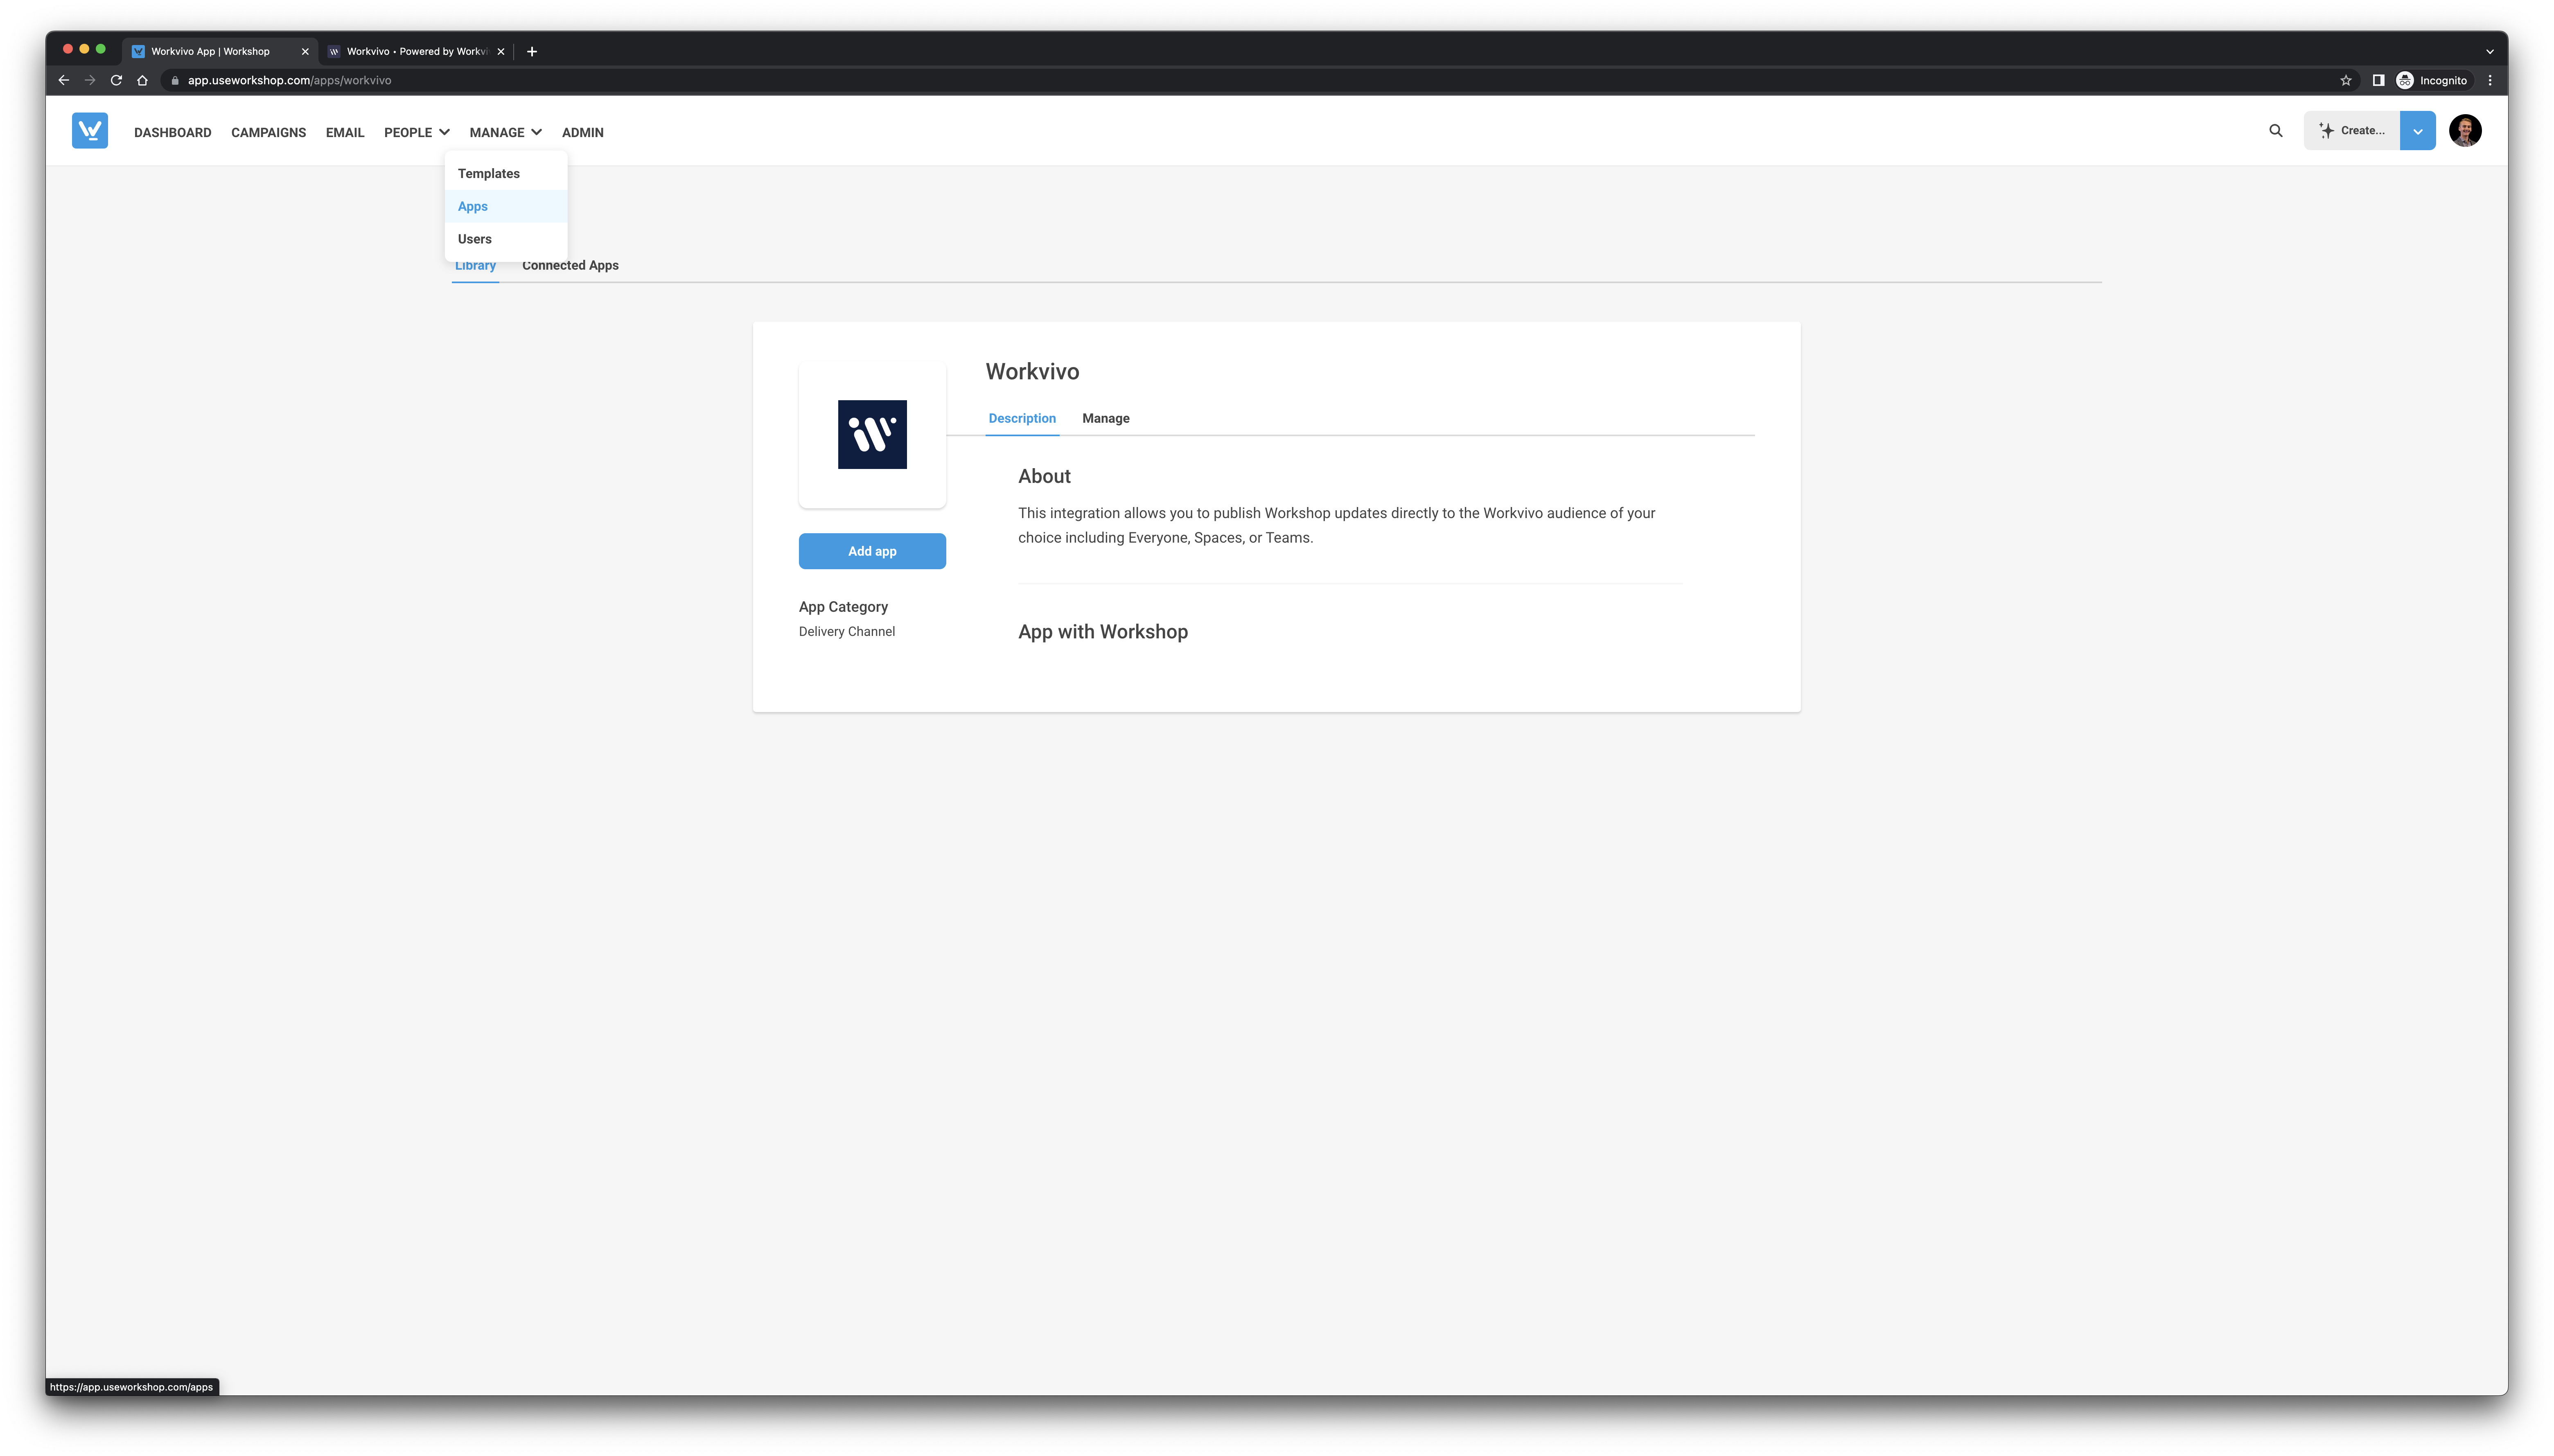
- Within the Manage tab, select Apps from the dropdown
- Find and select the Workvivo app in our app directory and select Add App.
- You'll be redirected to the Manage tab, showing four input boxes to enter your information to connect Workshop to your organization's Workvivo intranet.
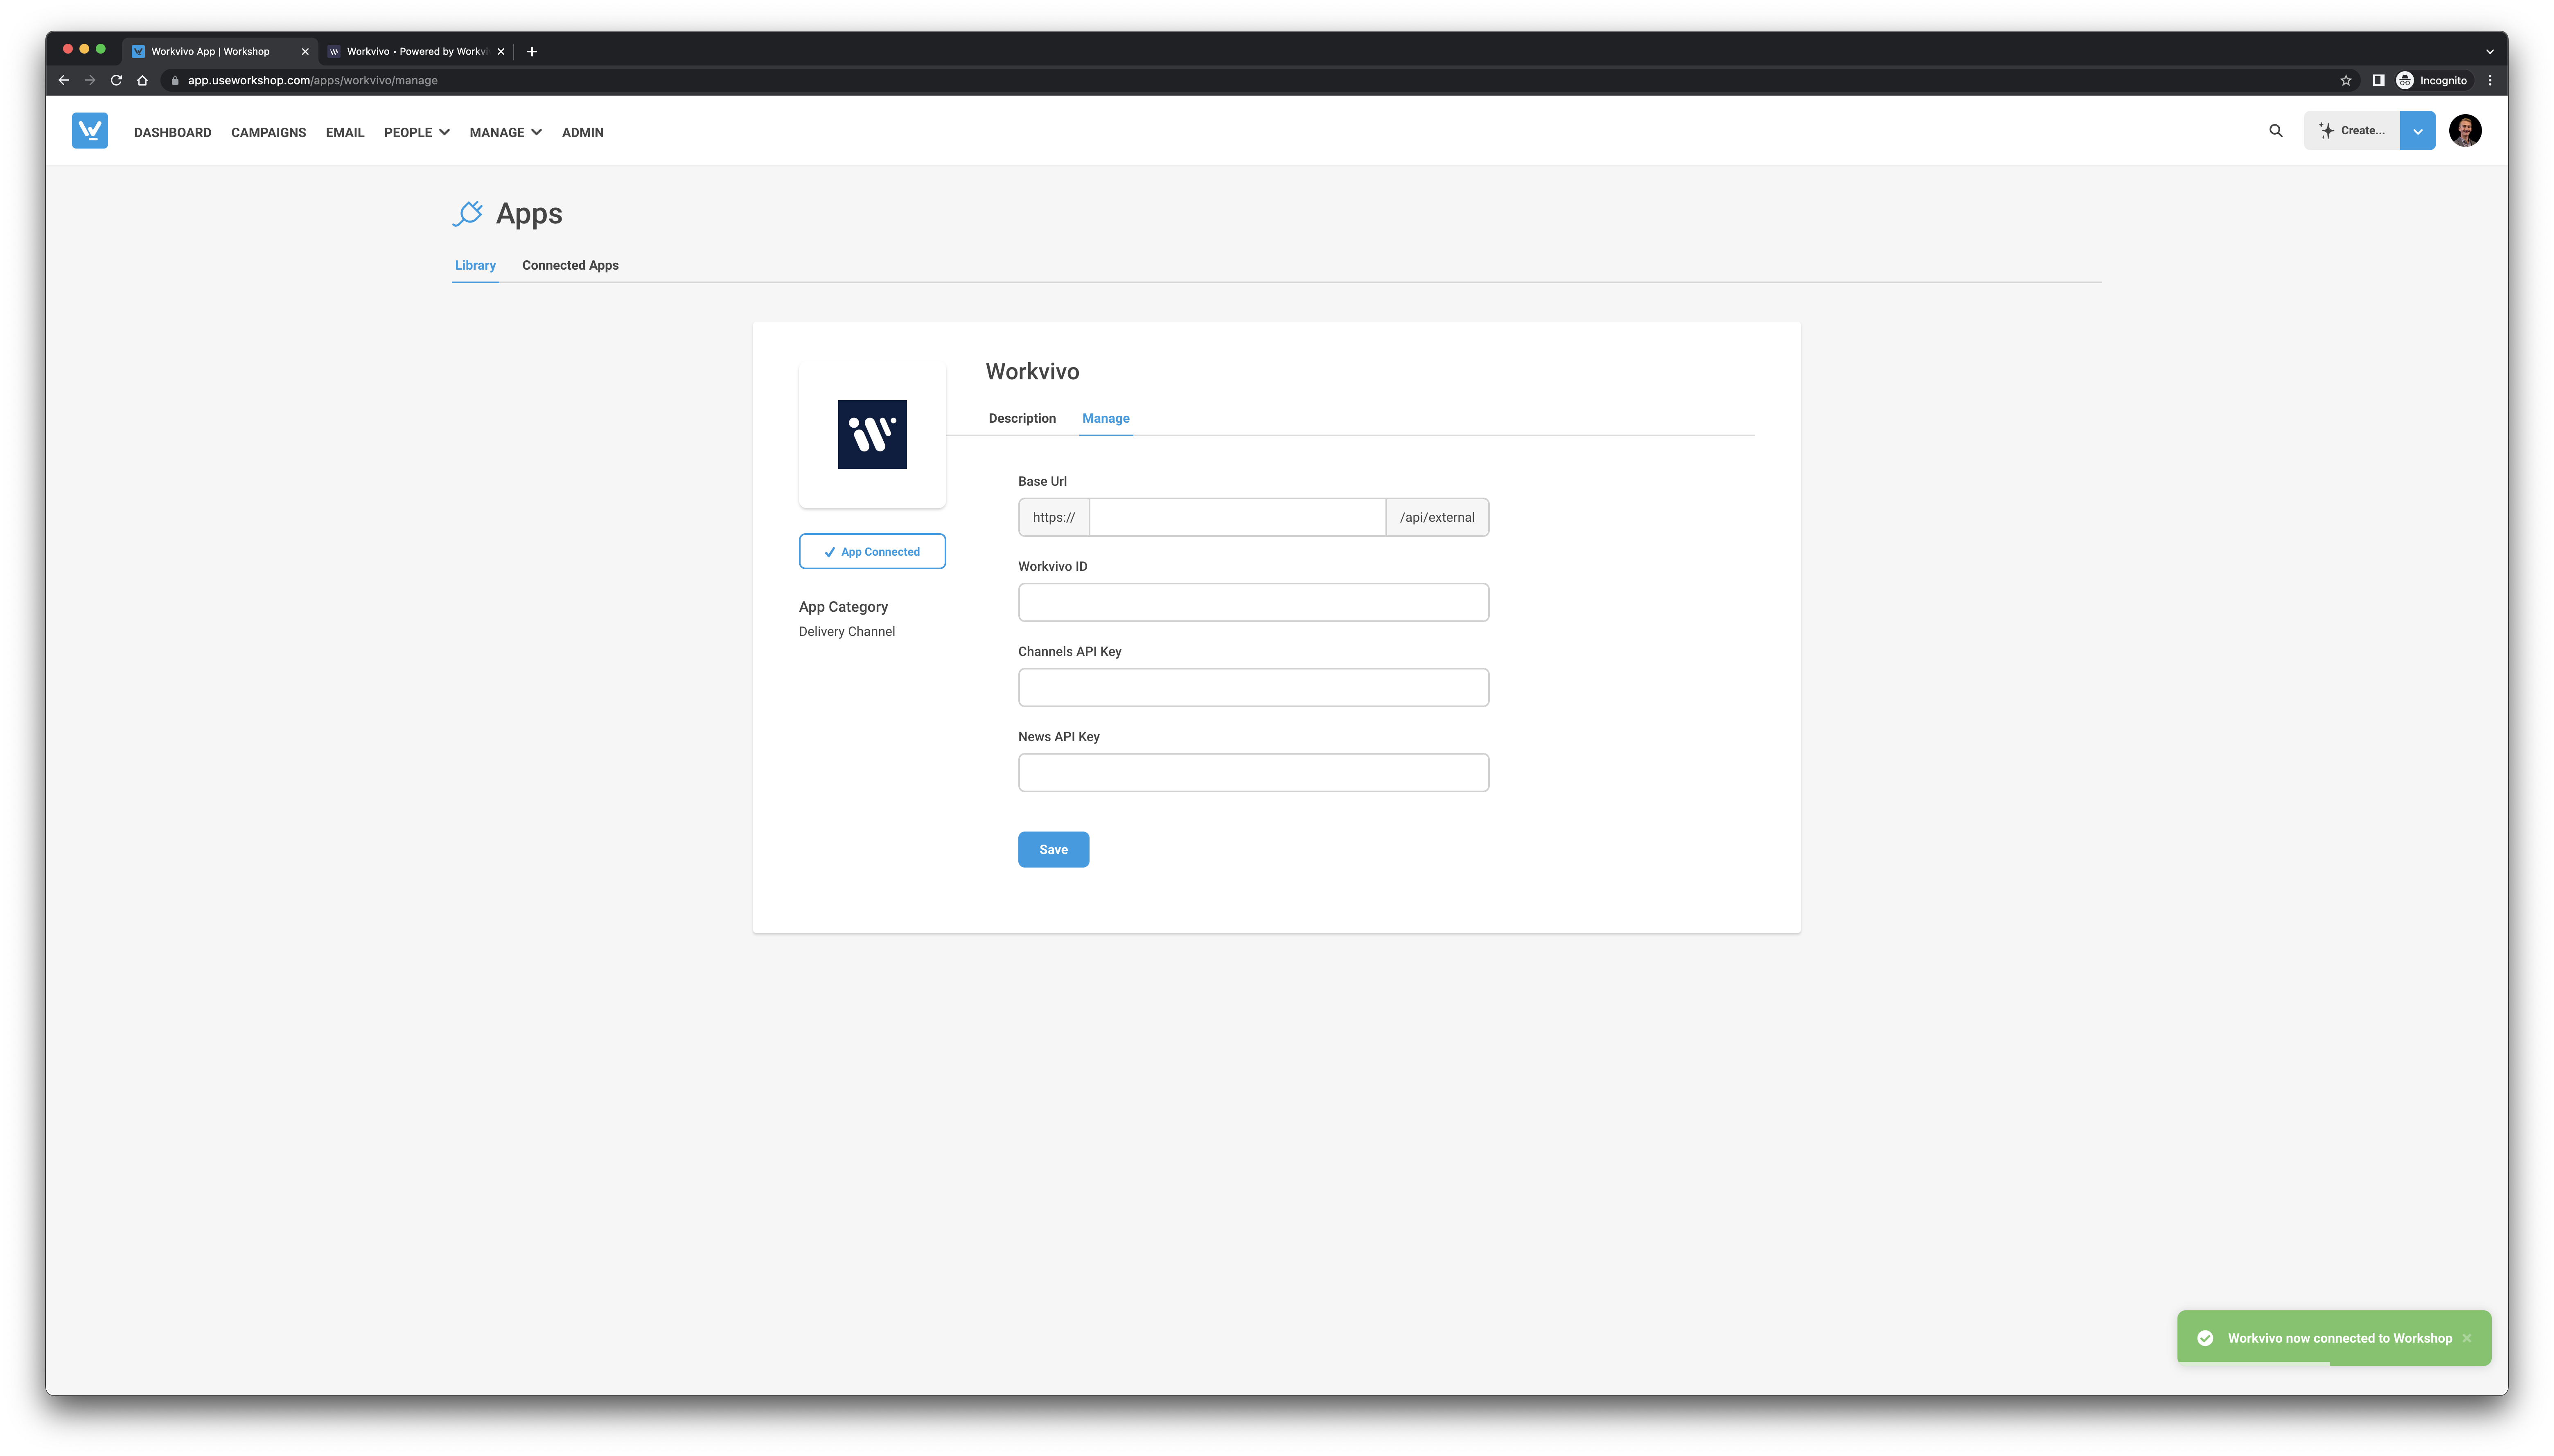
You'll need to know and enter the following:
- Your Workvivo Base URL. This is the domain on which your company's Workvivo instance is hosted.
- Your Workvivo ID
- A Channels API Key
- A News API Key
- The News API Key can only be generated by Workvivo. Please reach out to your Workvivo Account Manager to provision that key.
- To retrieve the rest, open your Workvivo intranet and follow the remaining steps.
- Workvivo Base URL: once on the home page of your Workvivo instance, copy the URL from your browser's address bar.
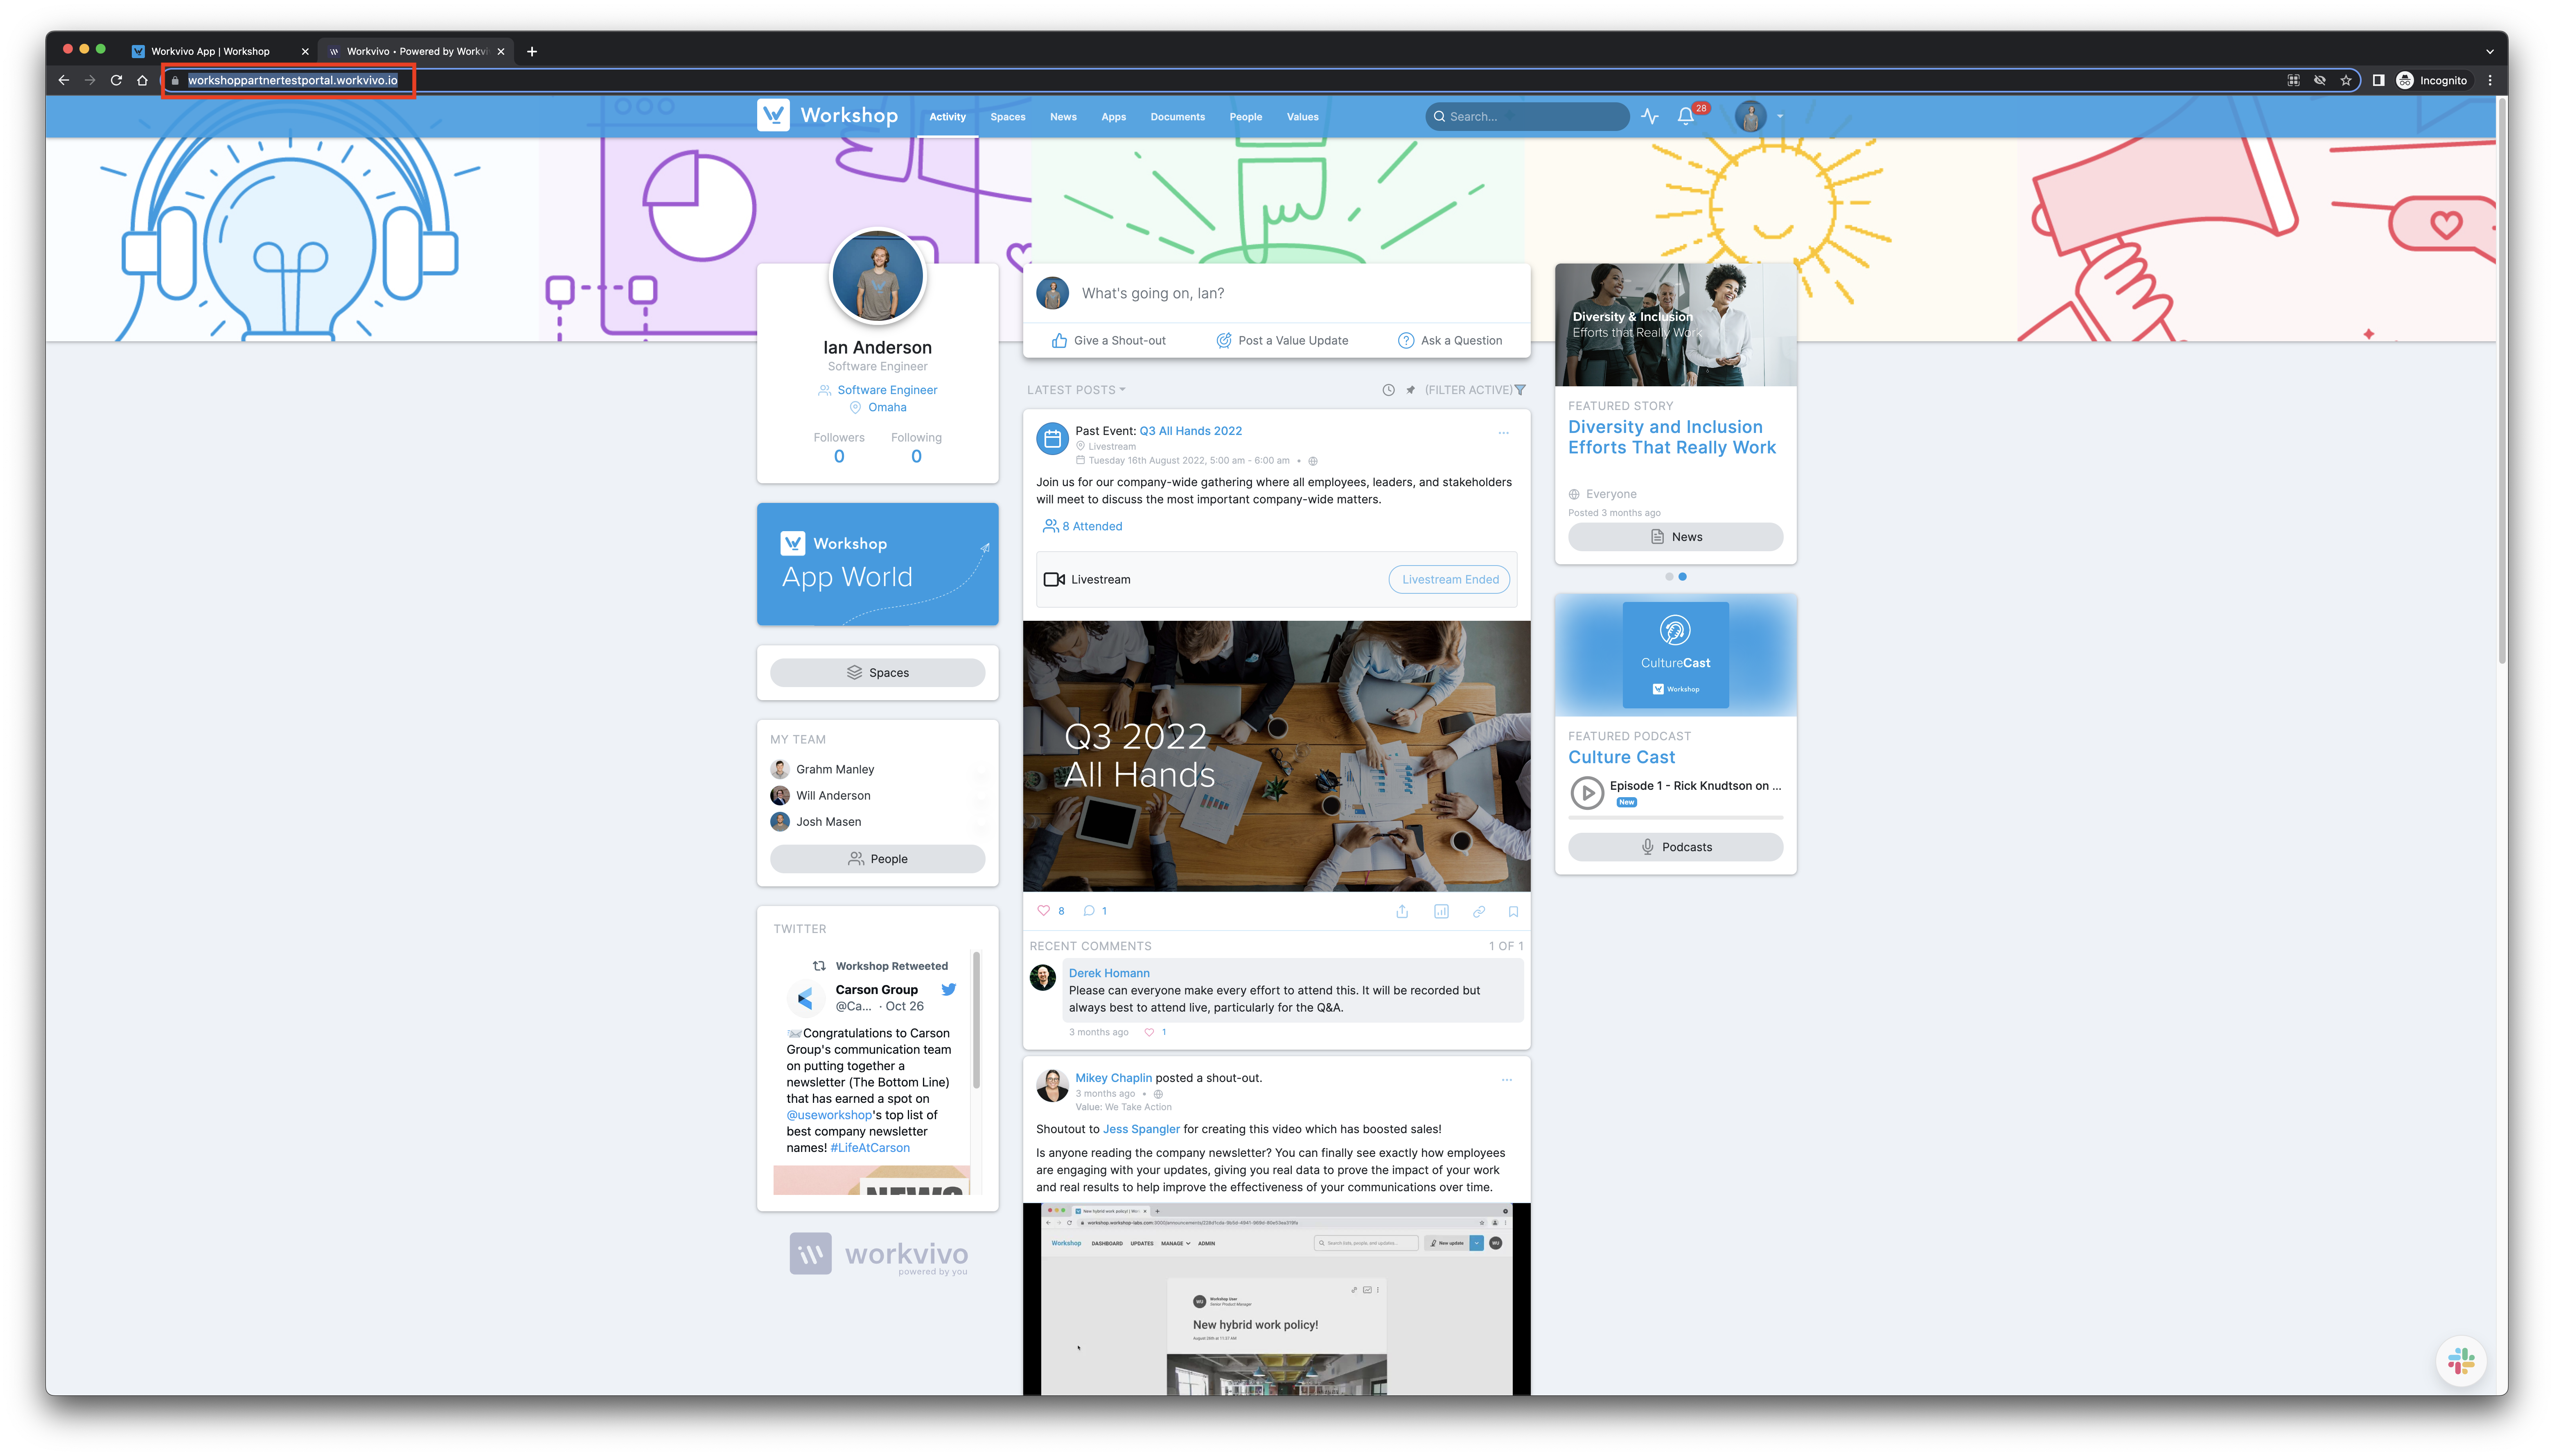
When you copy the URL it may include other information such as "https://" or a route after the base url, such as "/news". Please remove any extra characters when pasting the base url into Workshop.
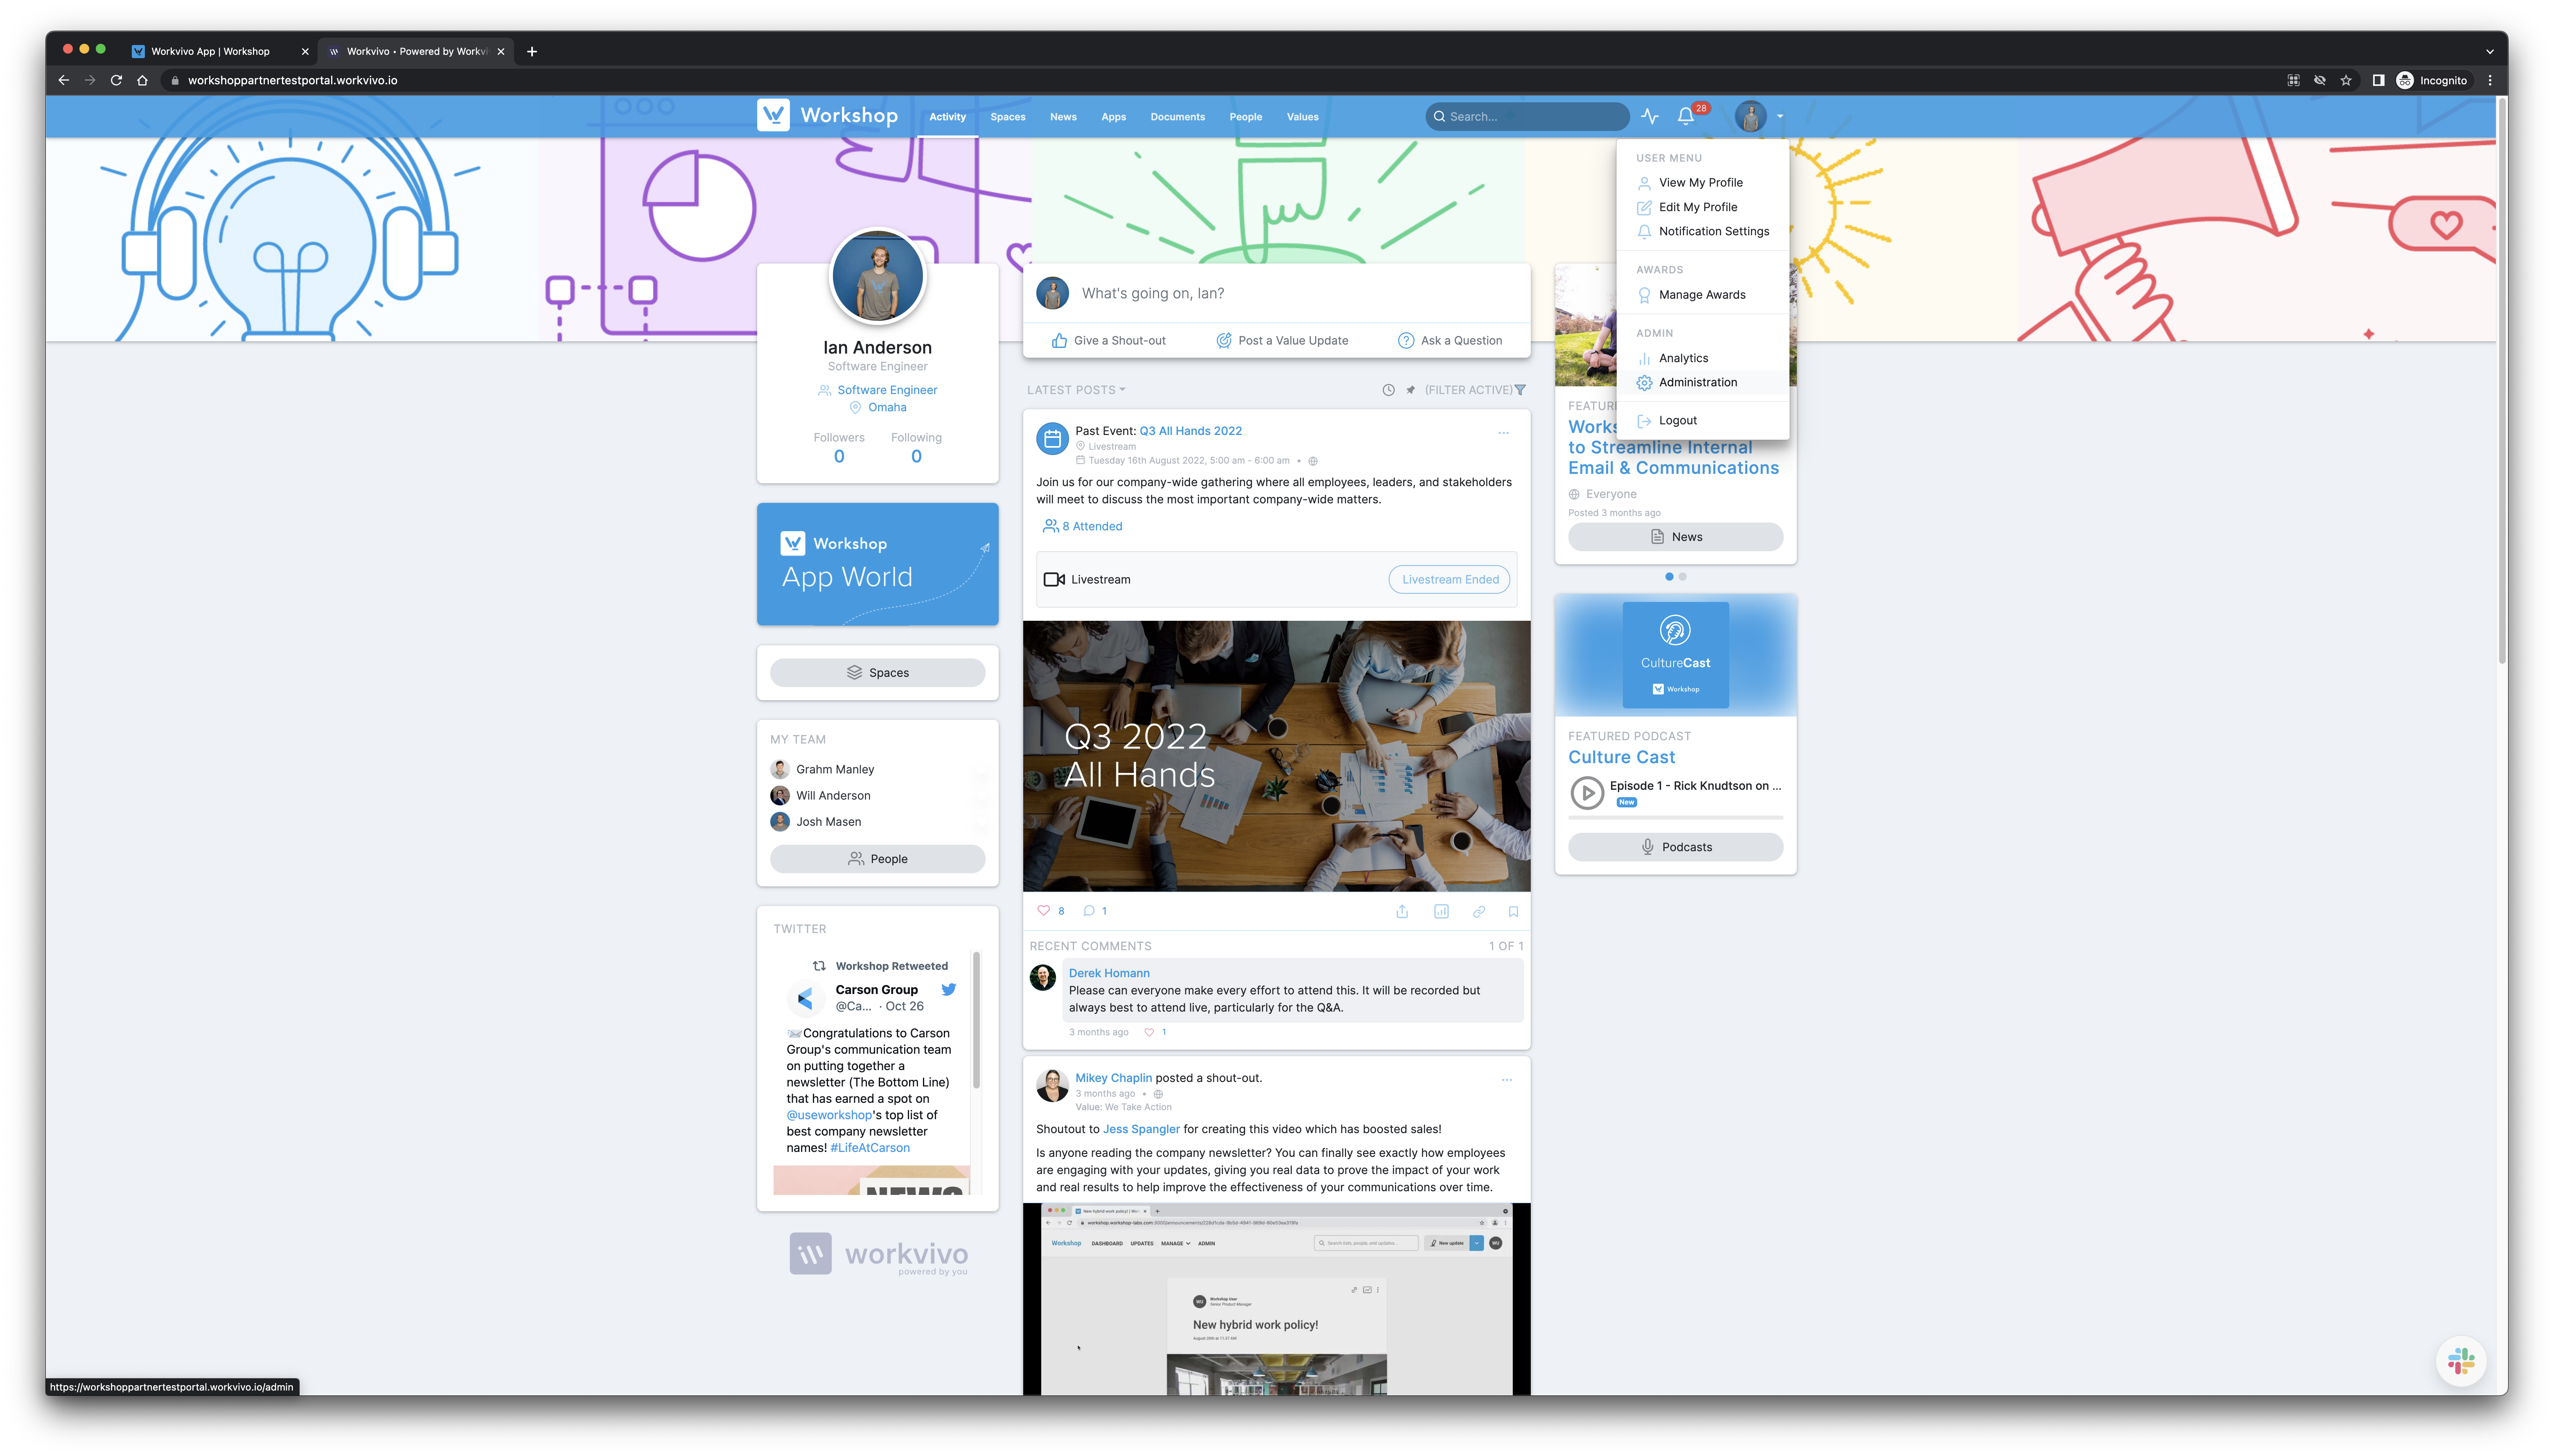
- To find your Workvivo ID, click on your account picture and select Administration from the dropdown
Then select API Keys Settings from the list on the left
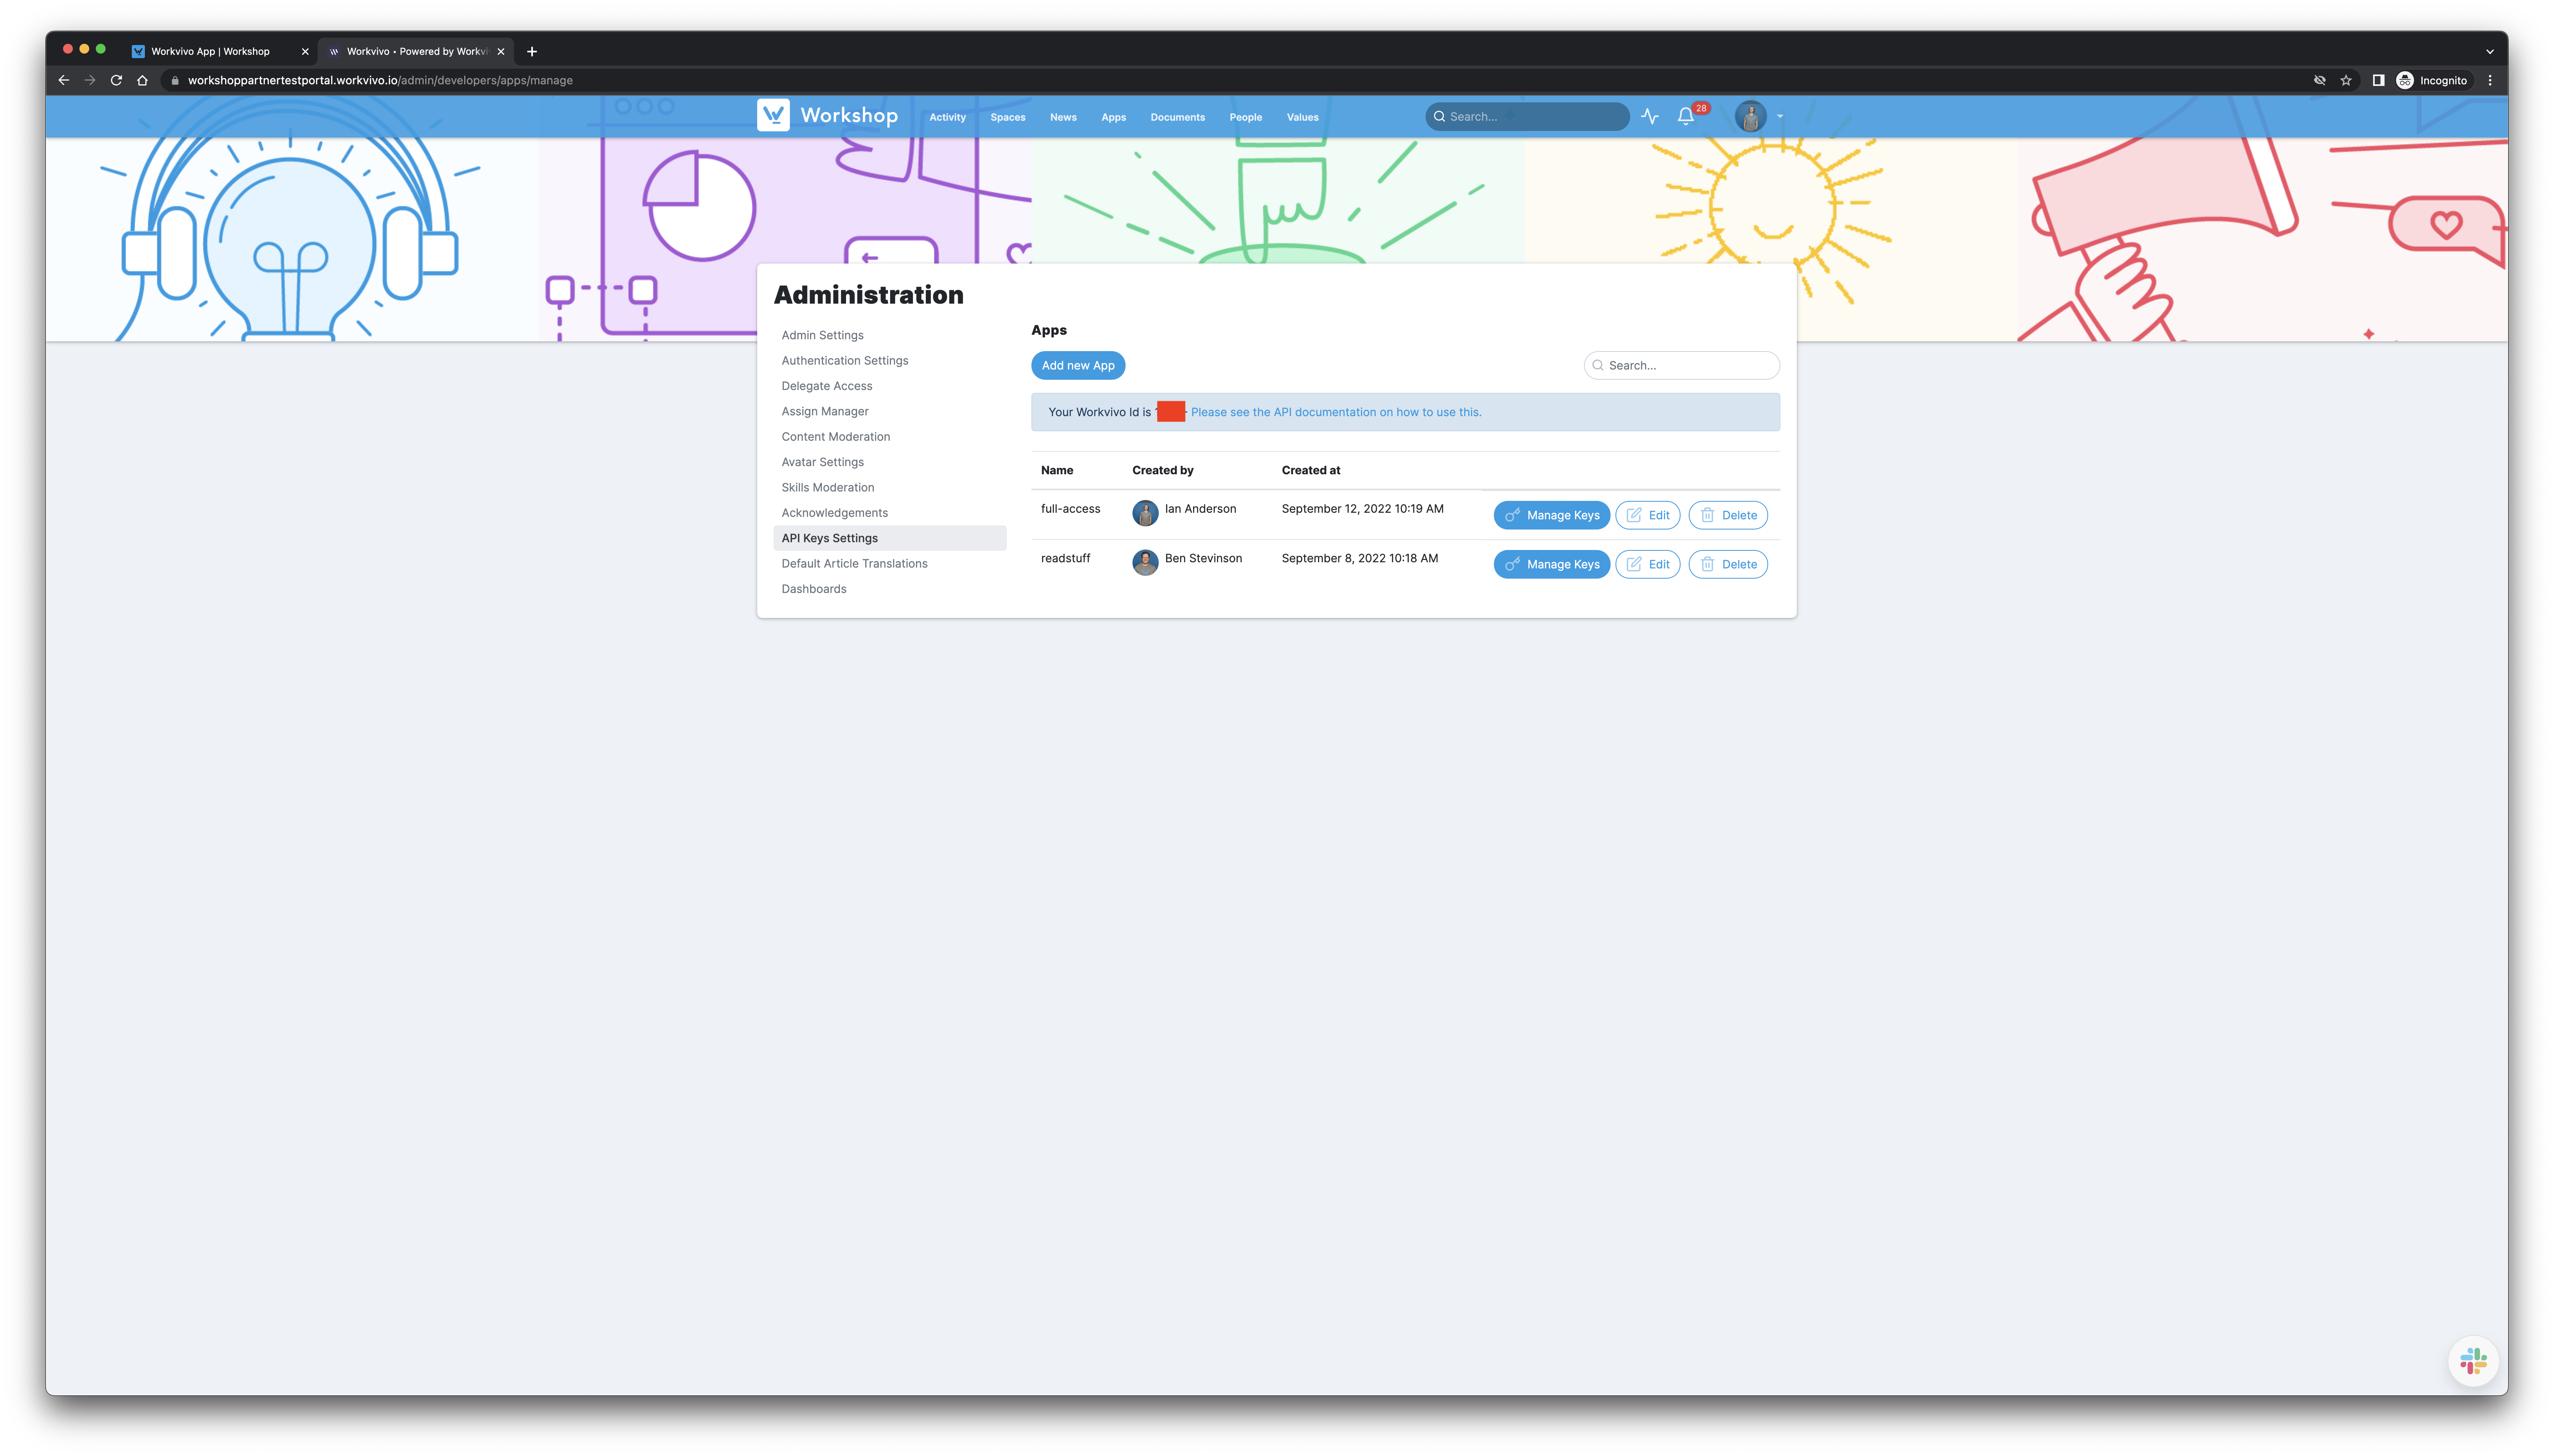
Your Workvivo ID should be a 4 digit number located where the red box is in the above screenshot. Copy and paste that into Workshop.
- To create the Channels API Key, you'll need to click Add new App and give it the following permissions in the modal that opens
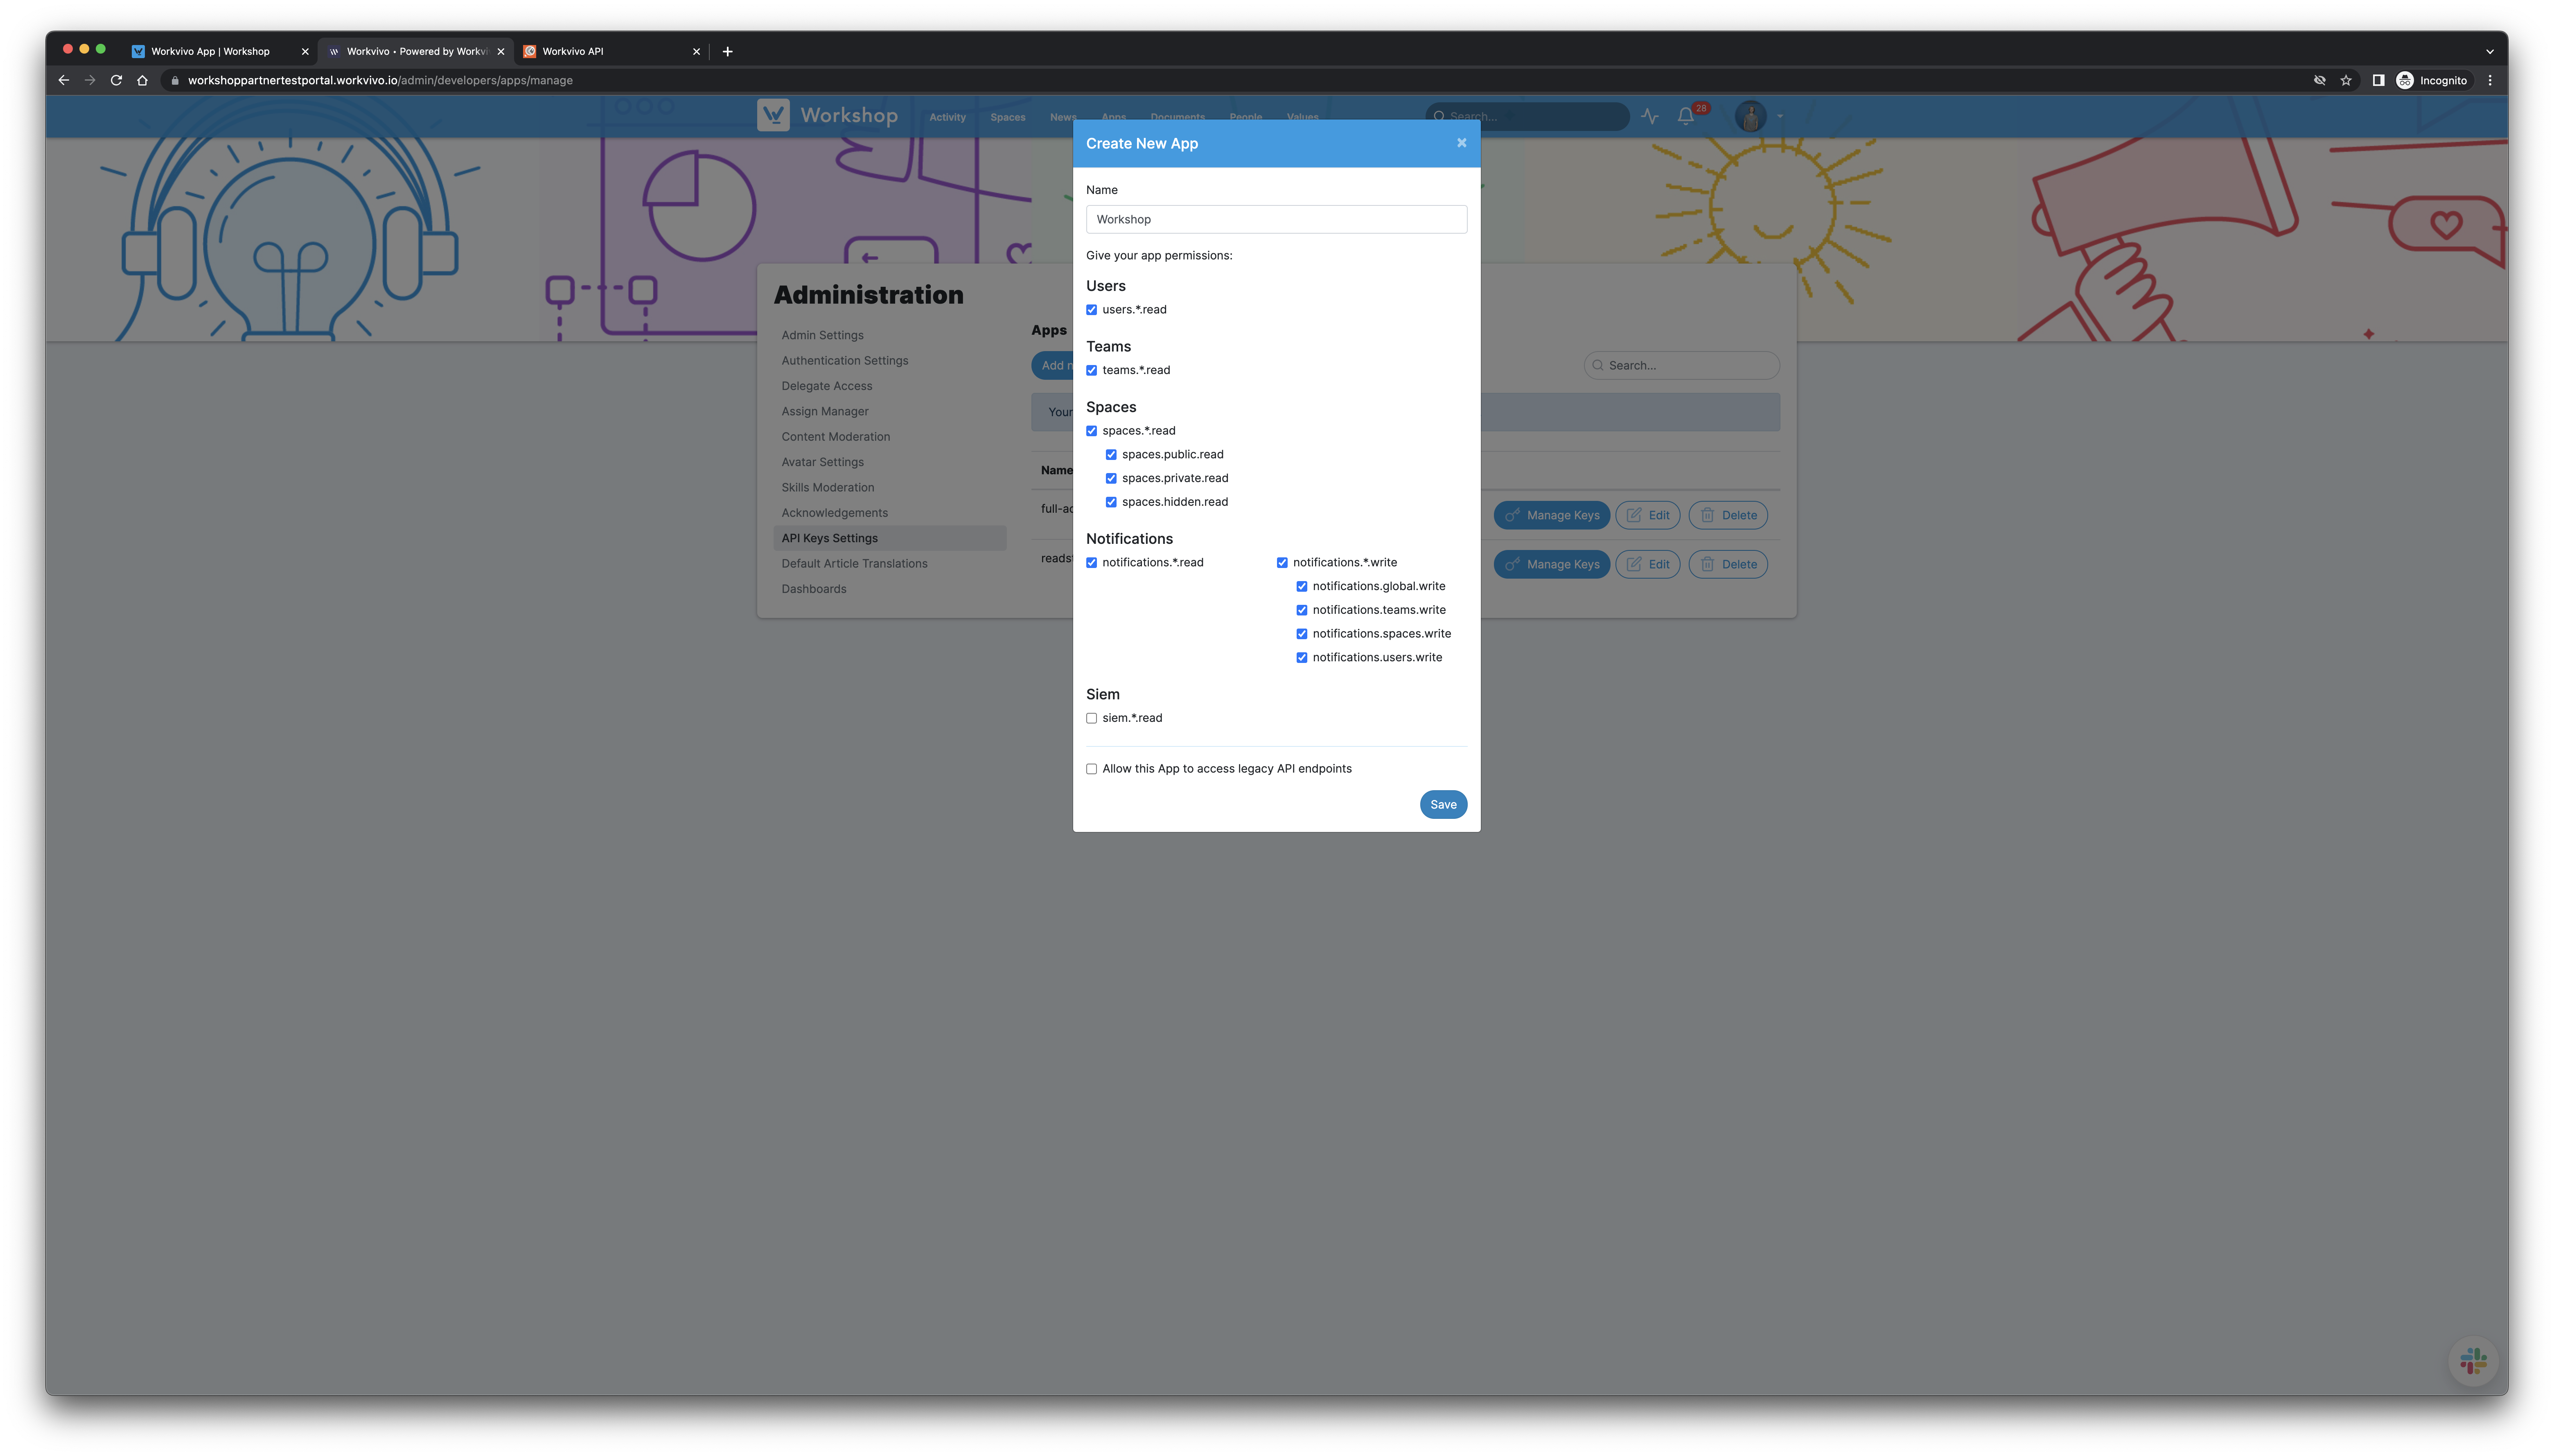
Once you've checked all the boxes above, click Save.
- On the App you've just created, click Manage Keys, then Add new Key
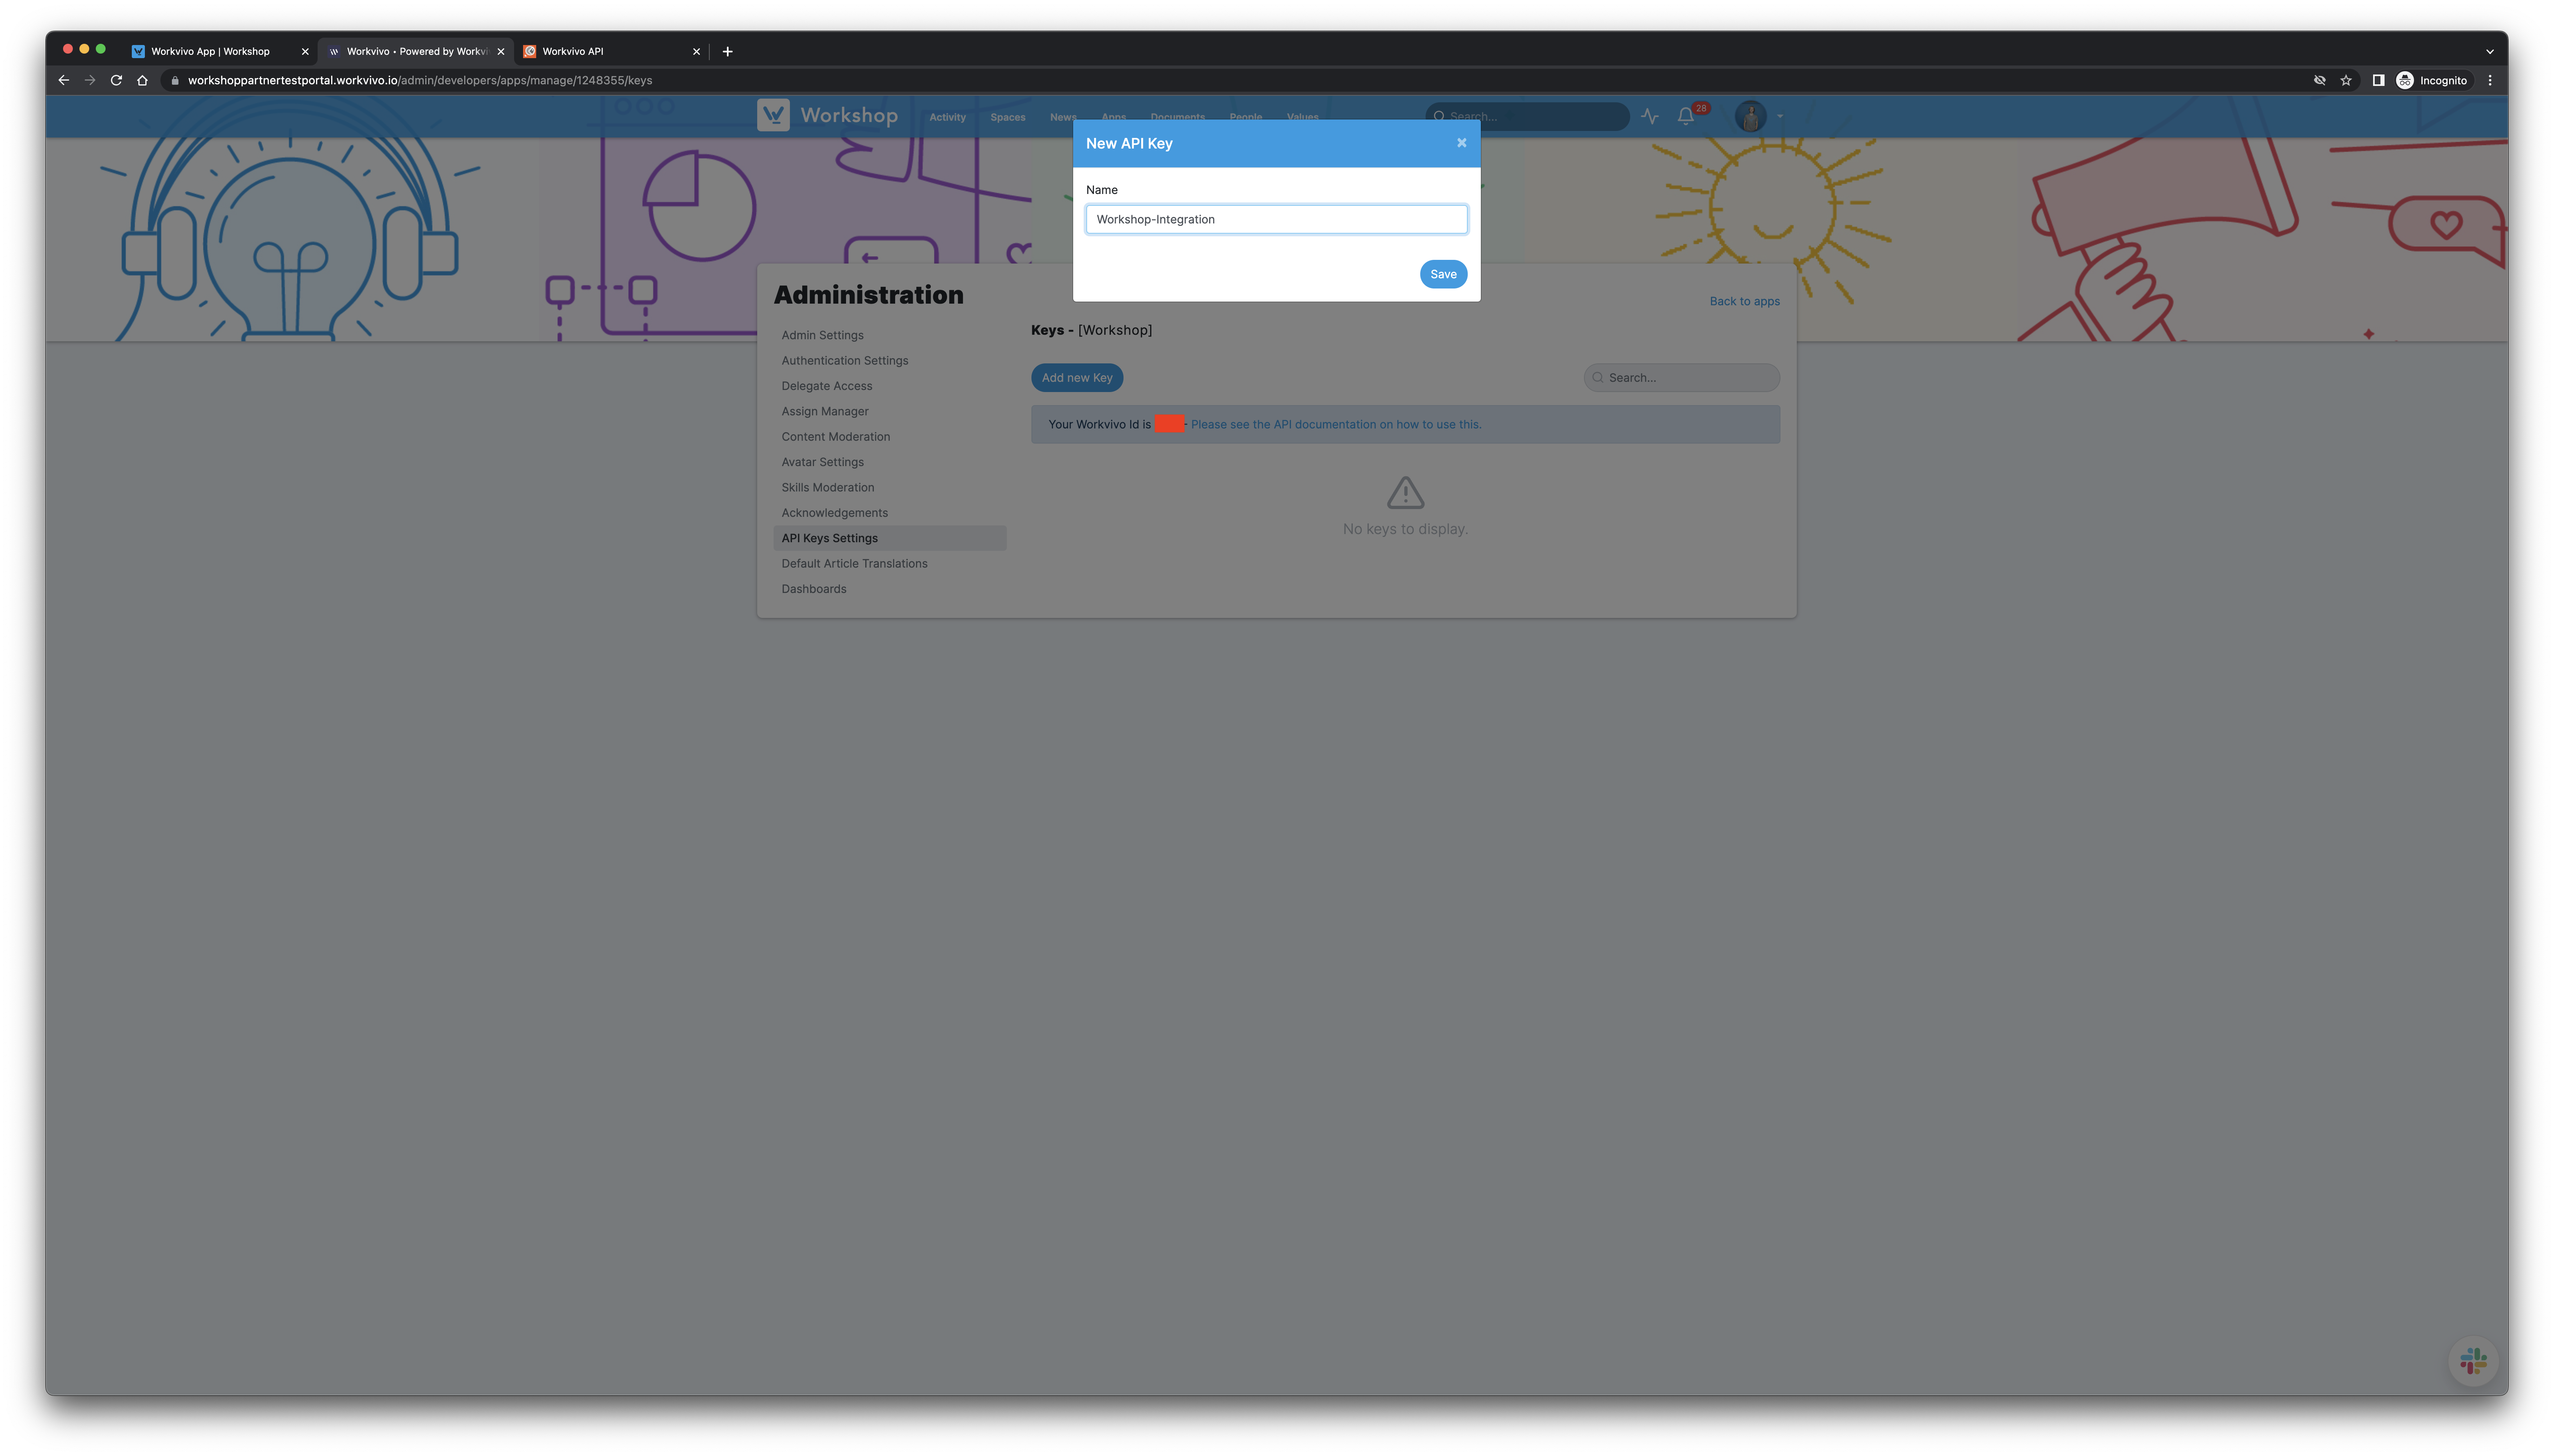
You can name it whatever you like, then click Save.
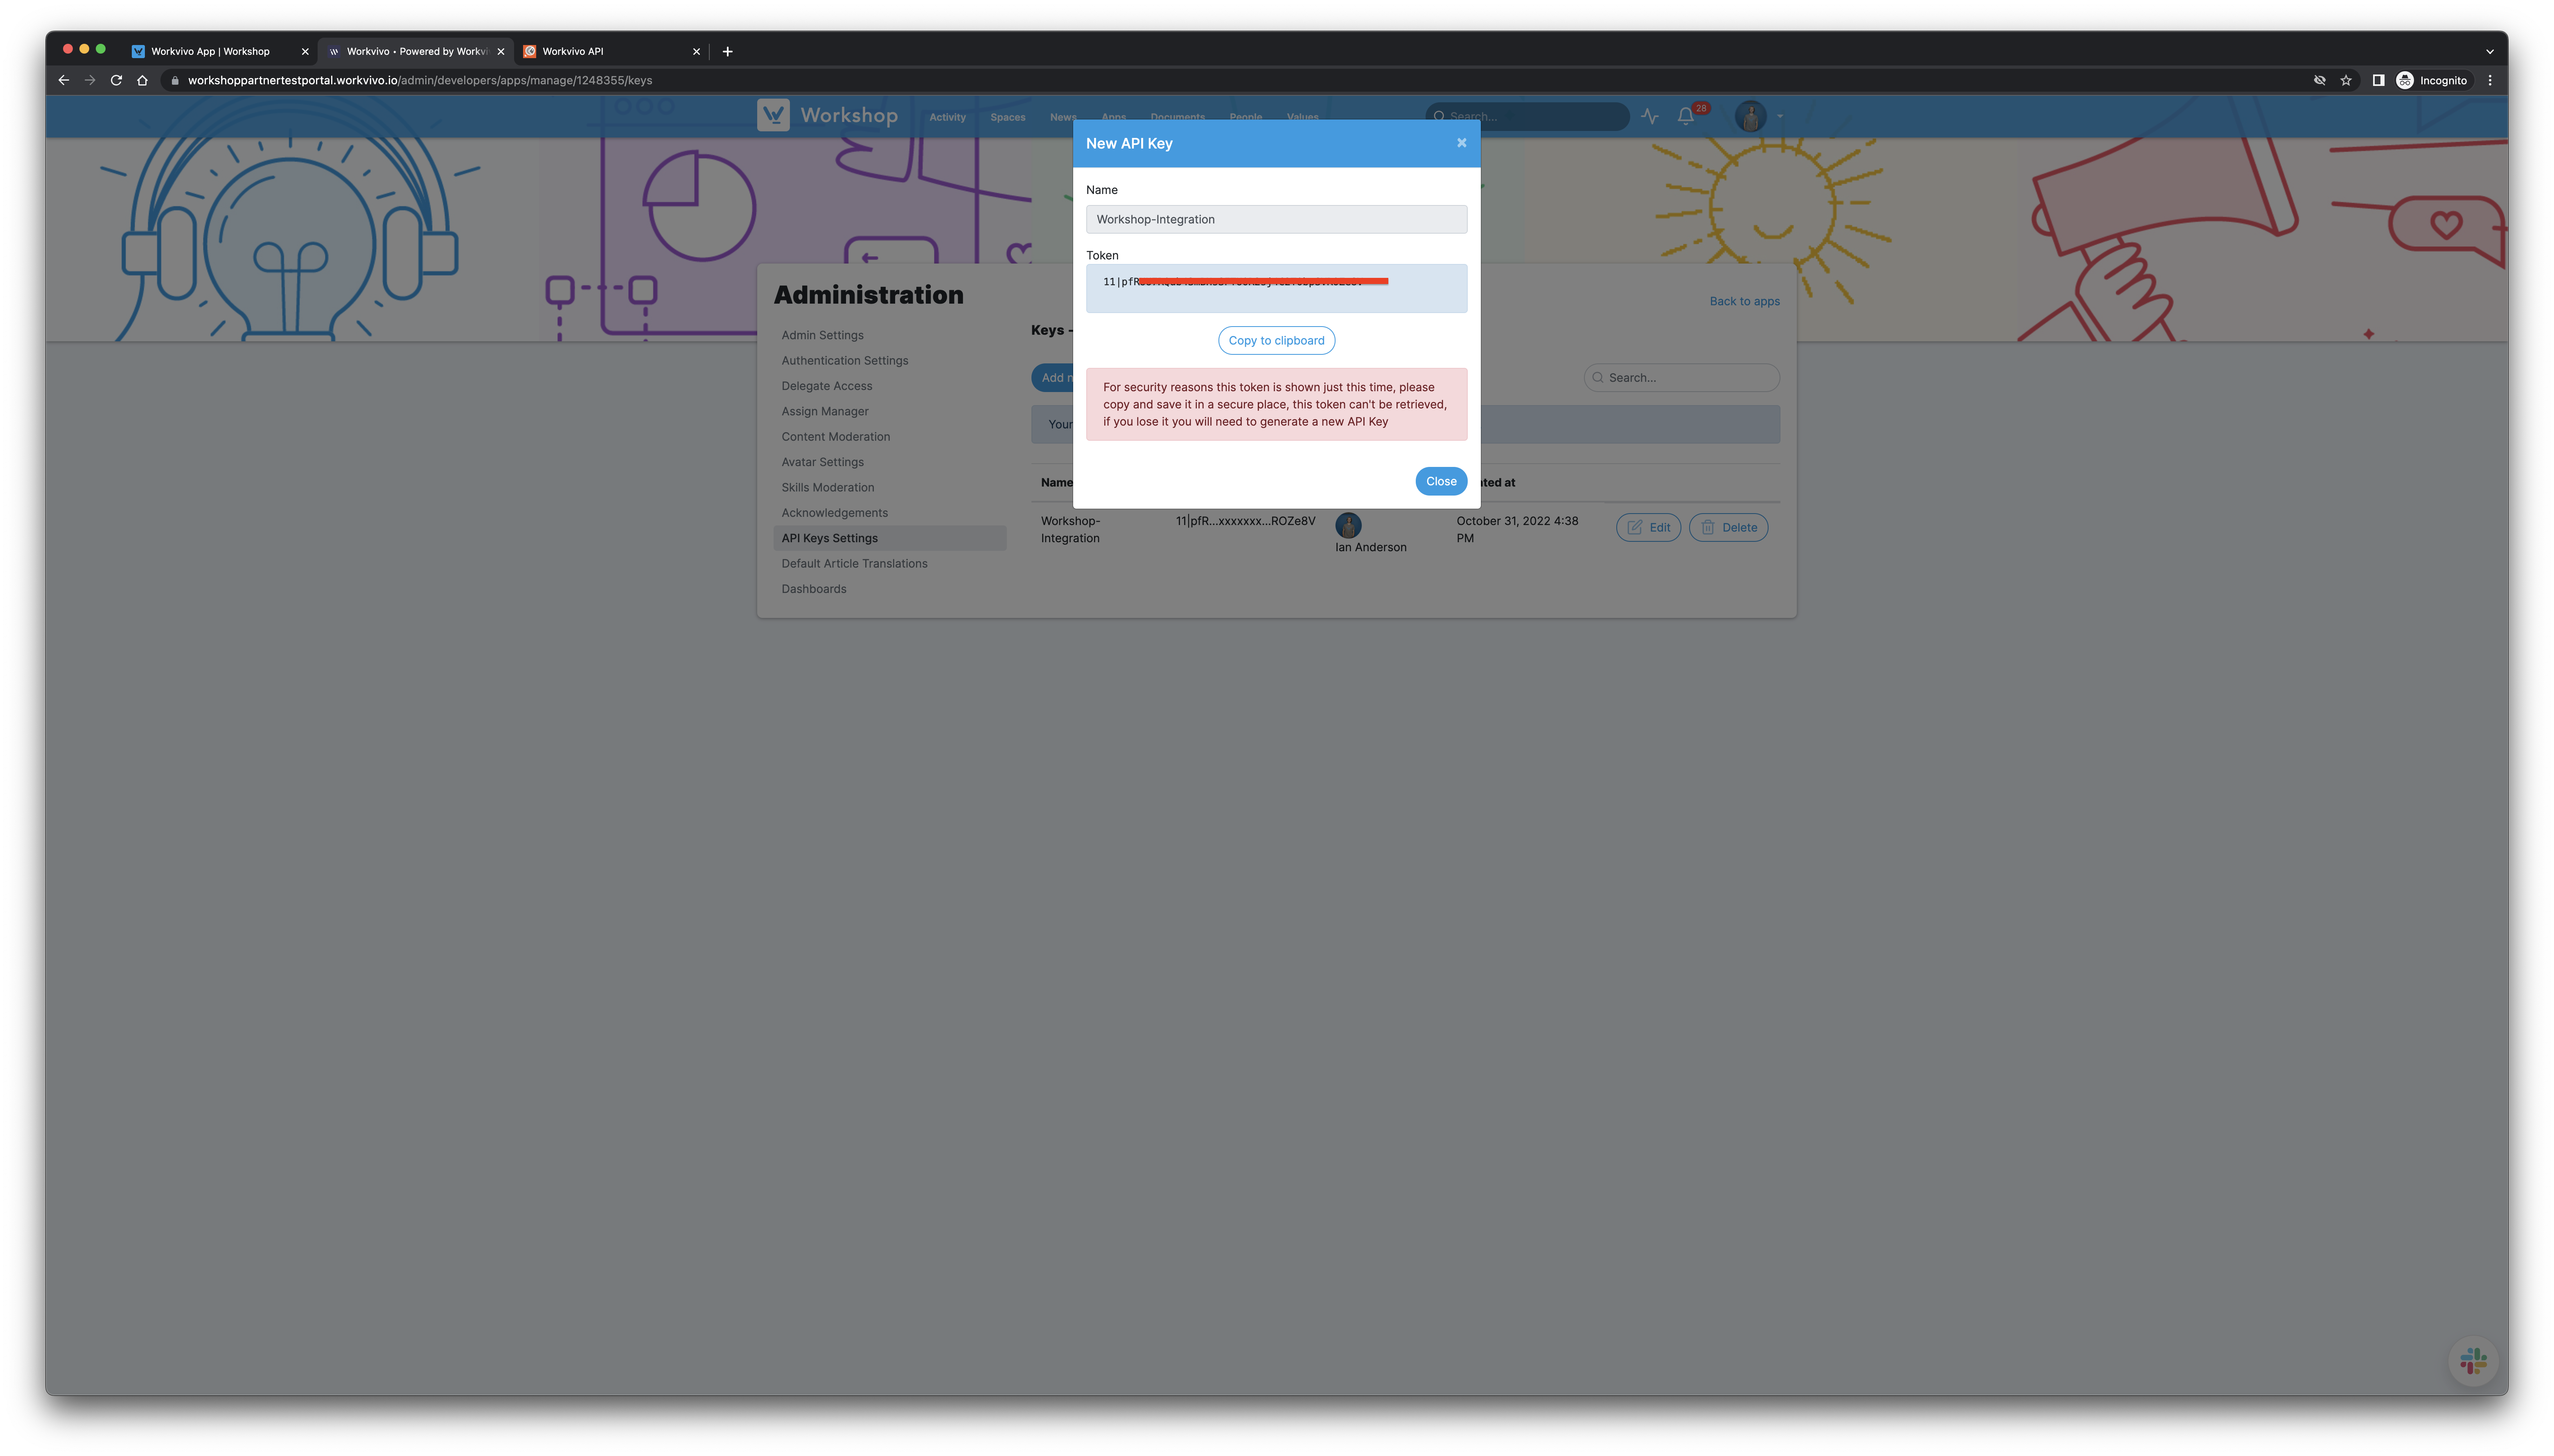
- Once you click save, a new modal will pop up with your API Key. You must copy it from this screen and paste it directly into Workshop. This key will not be shown to you again, but if it's lost, you can generate a new key by repeating Step 8 above.
- Once you have all four pieces of information pasted into the Workvivo -> Manage tab, click Save. If your information is correct you'll be redirected to a screen showing you the information you just entered.
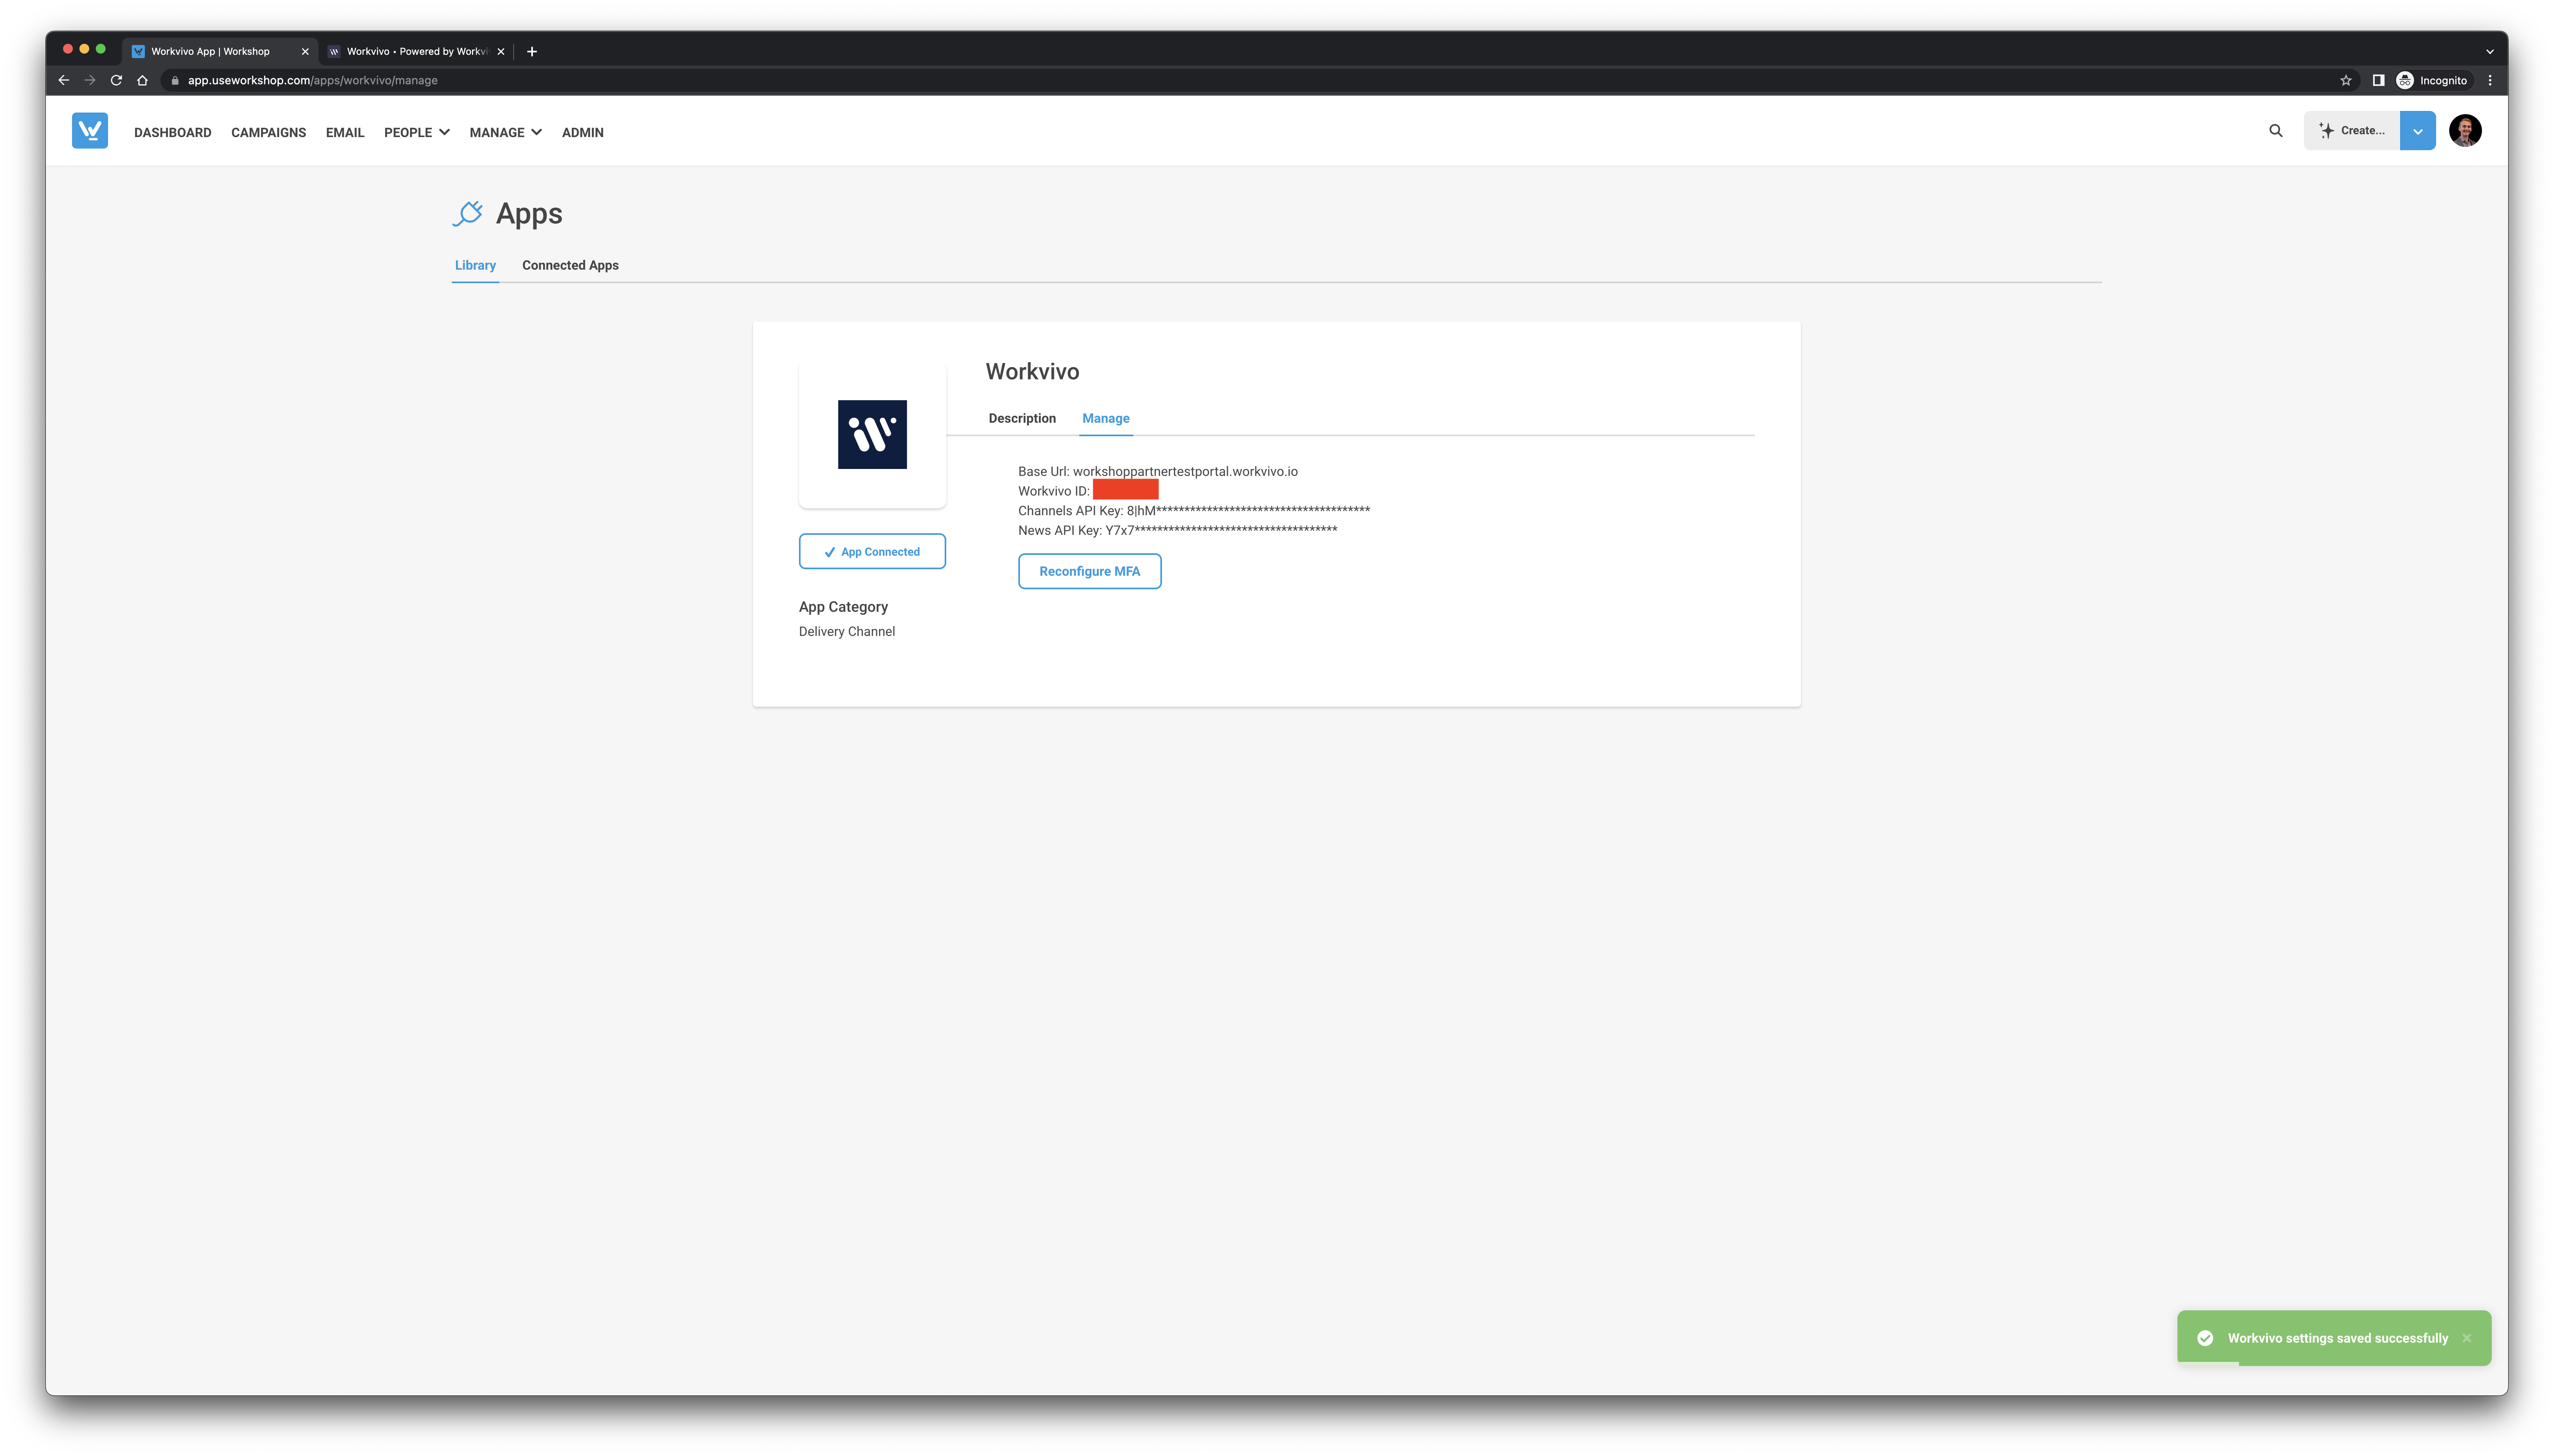
- That's it! You can now select Workvivo from the list of Additional Notification Channels and cross-post any emails into Workvivo!
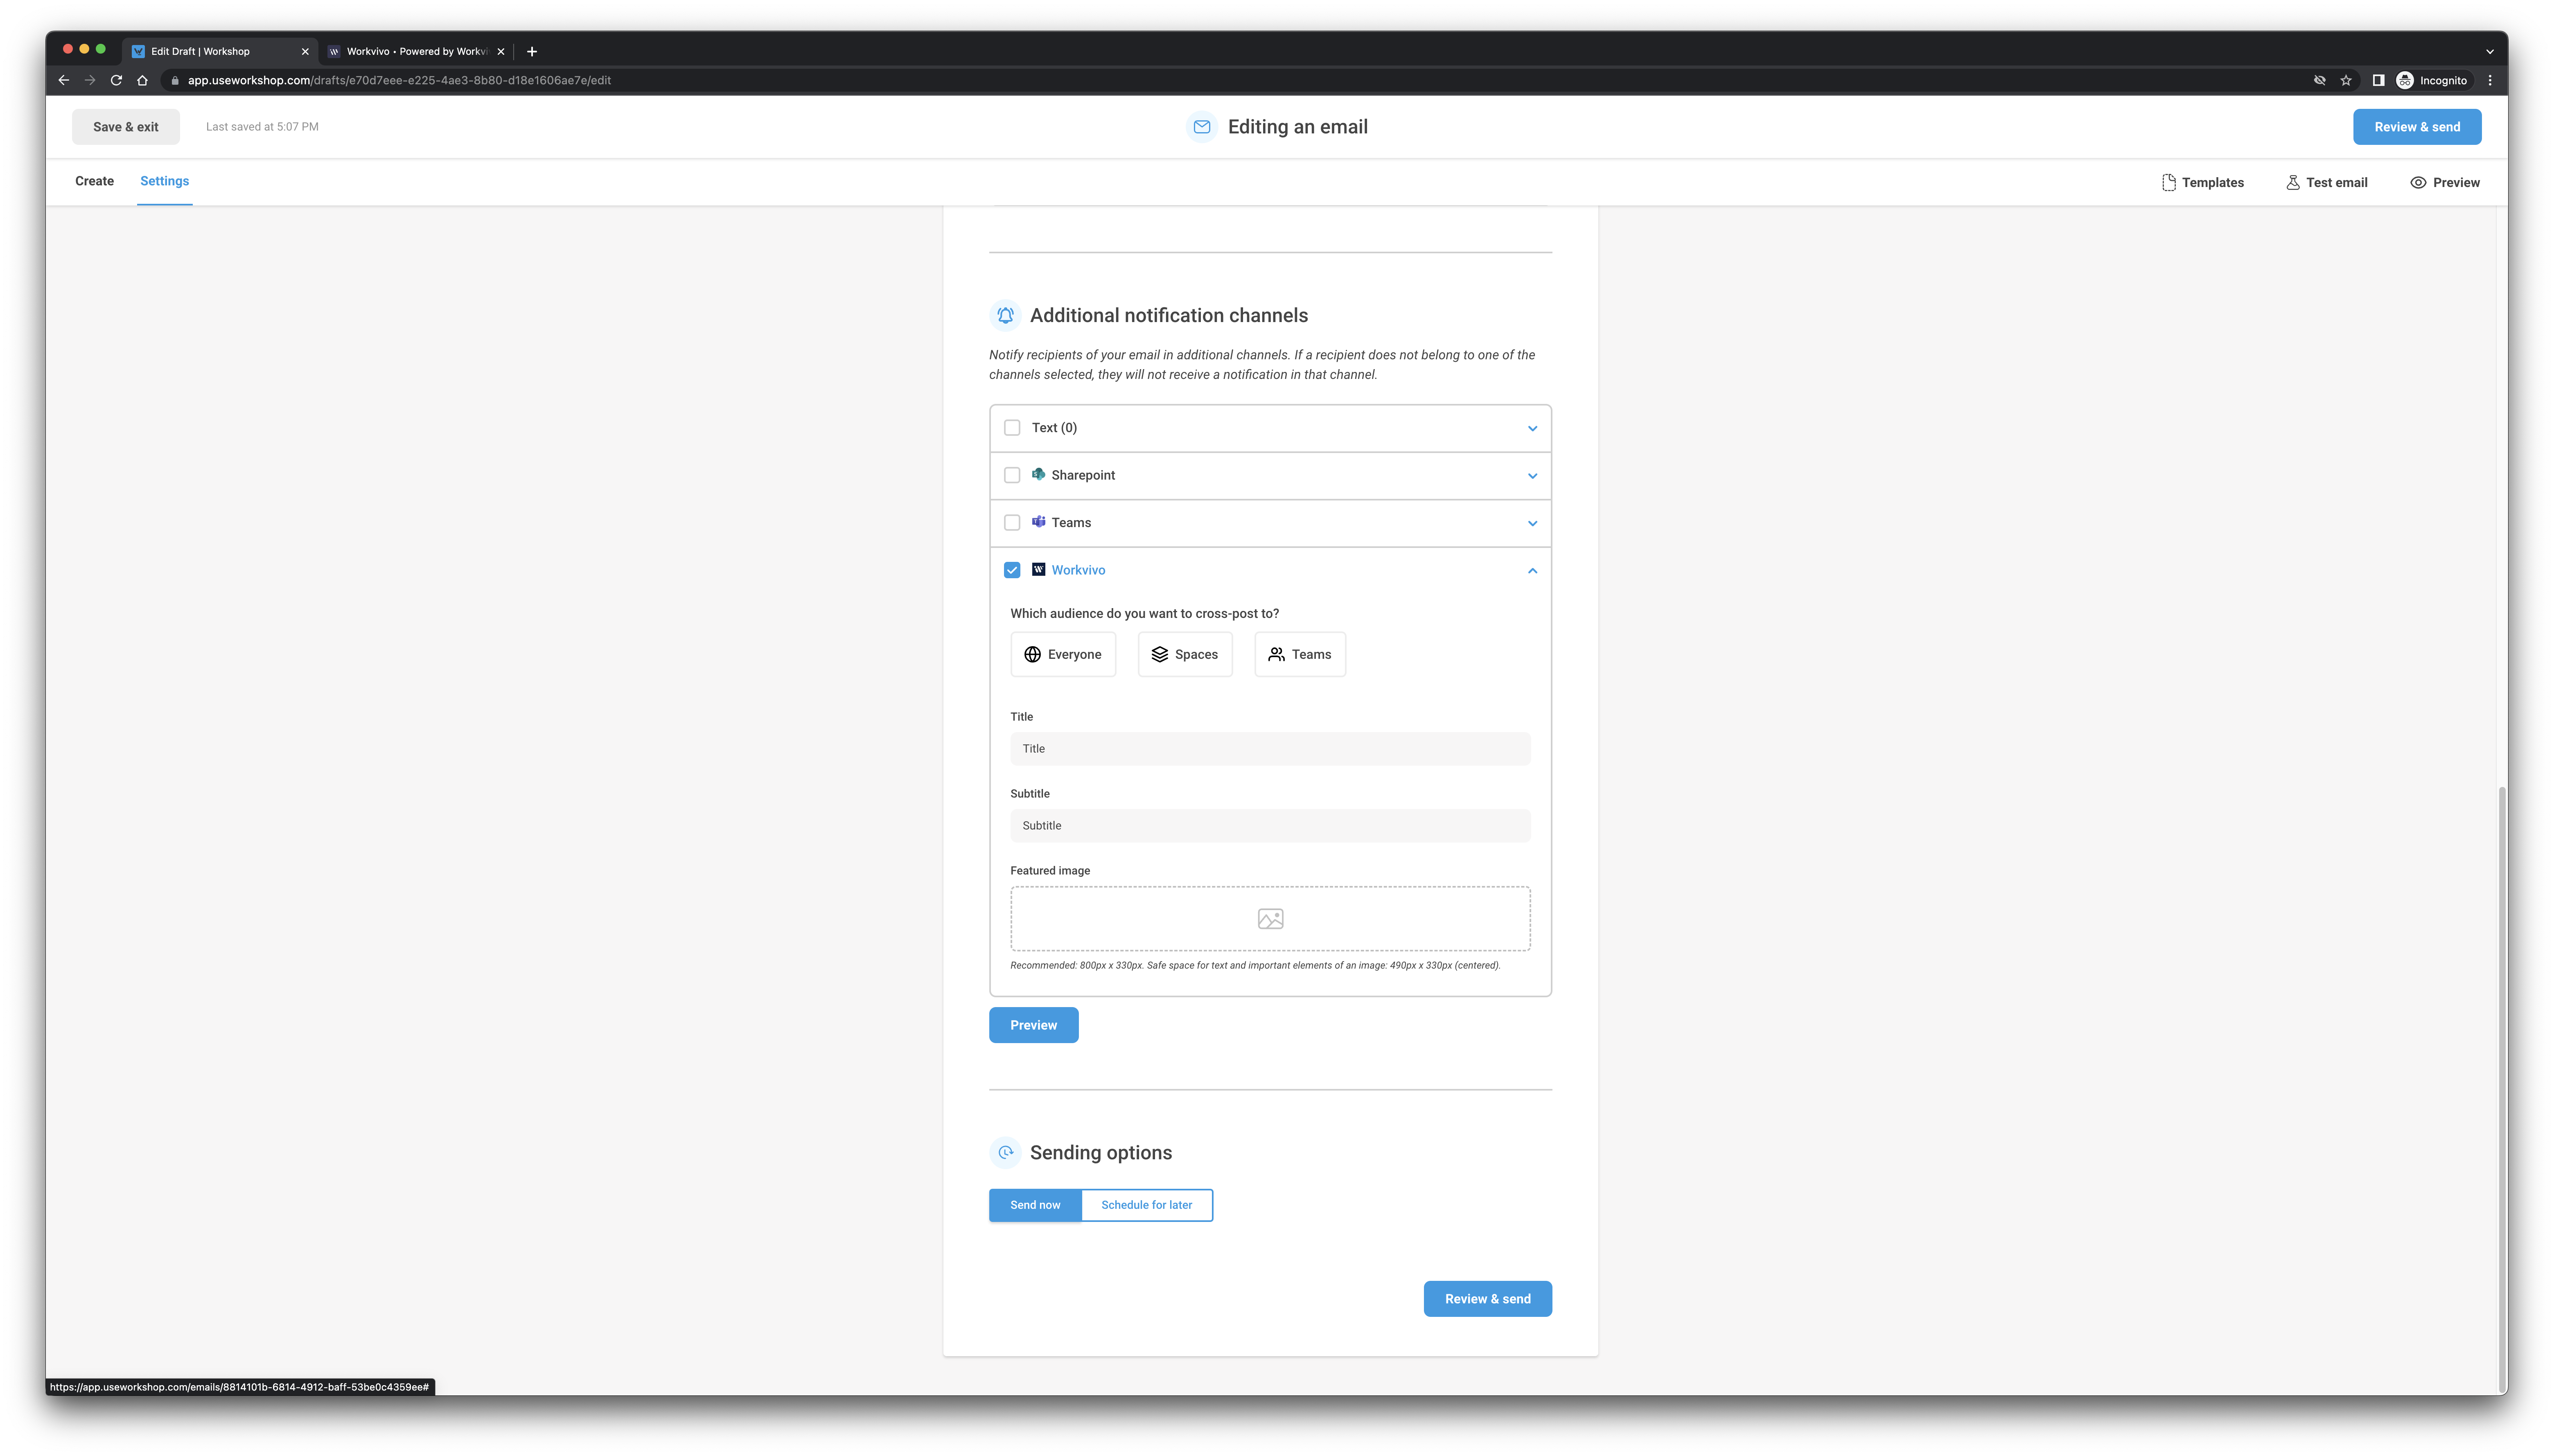
A note about this integration: You can post Workshop-created content into the various areas of Workvivo Intranet - Everyone, Teams or Spaces. Further customize your message by adding a title, subtitle and an optional image to be featured as the cover photo.
