
You’re ready to send your first email! Let’s walk through how to customize the sending settings of your email.
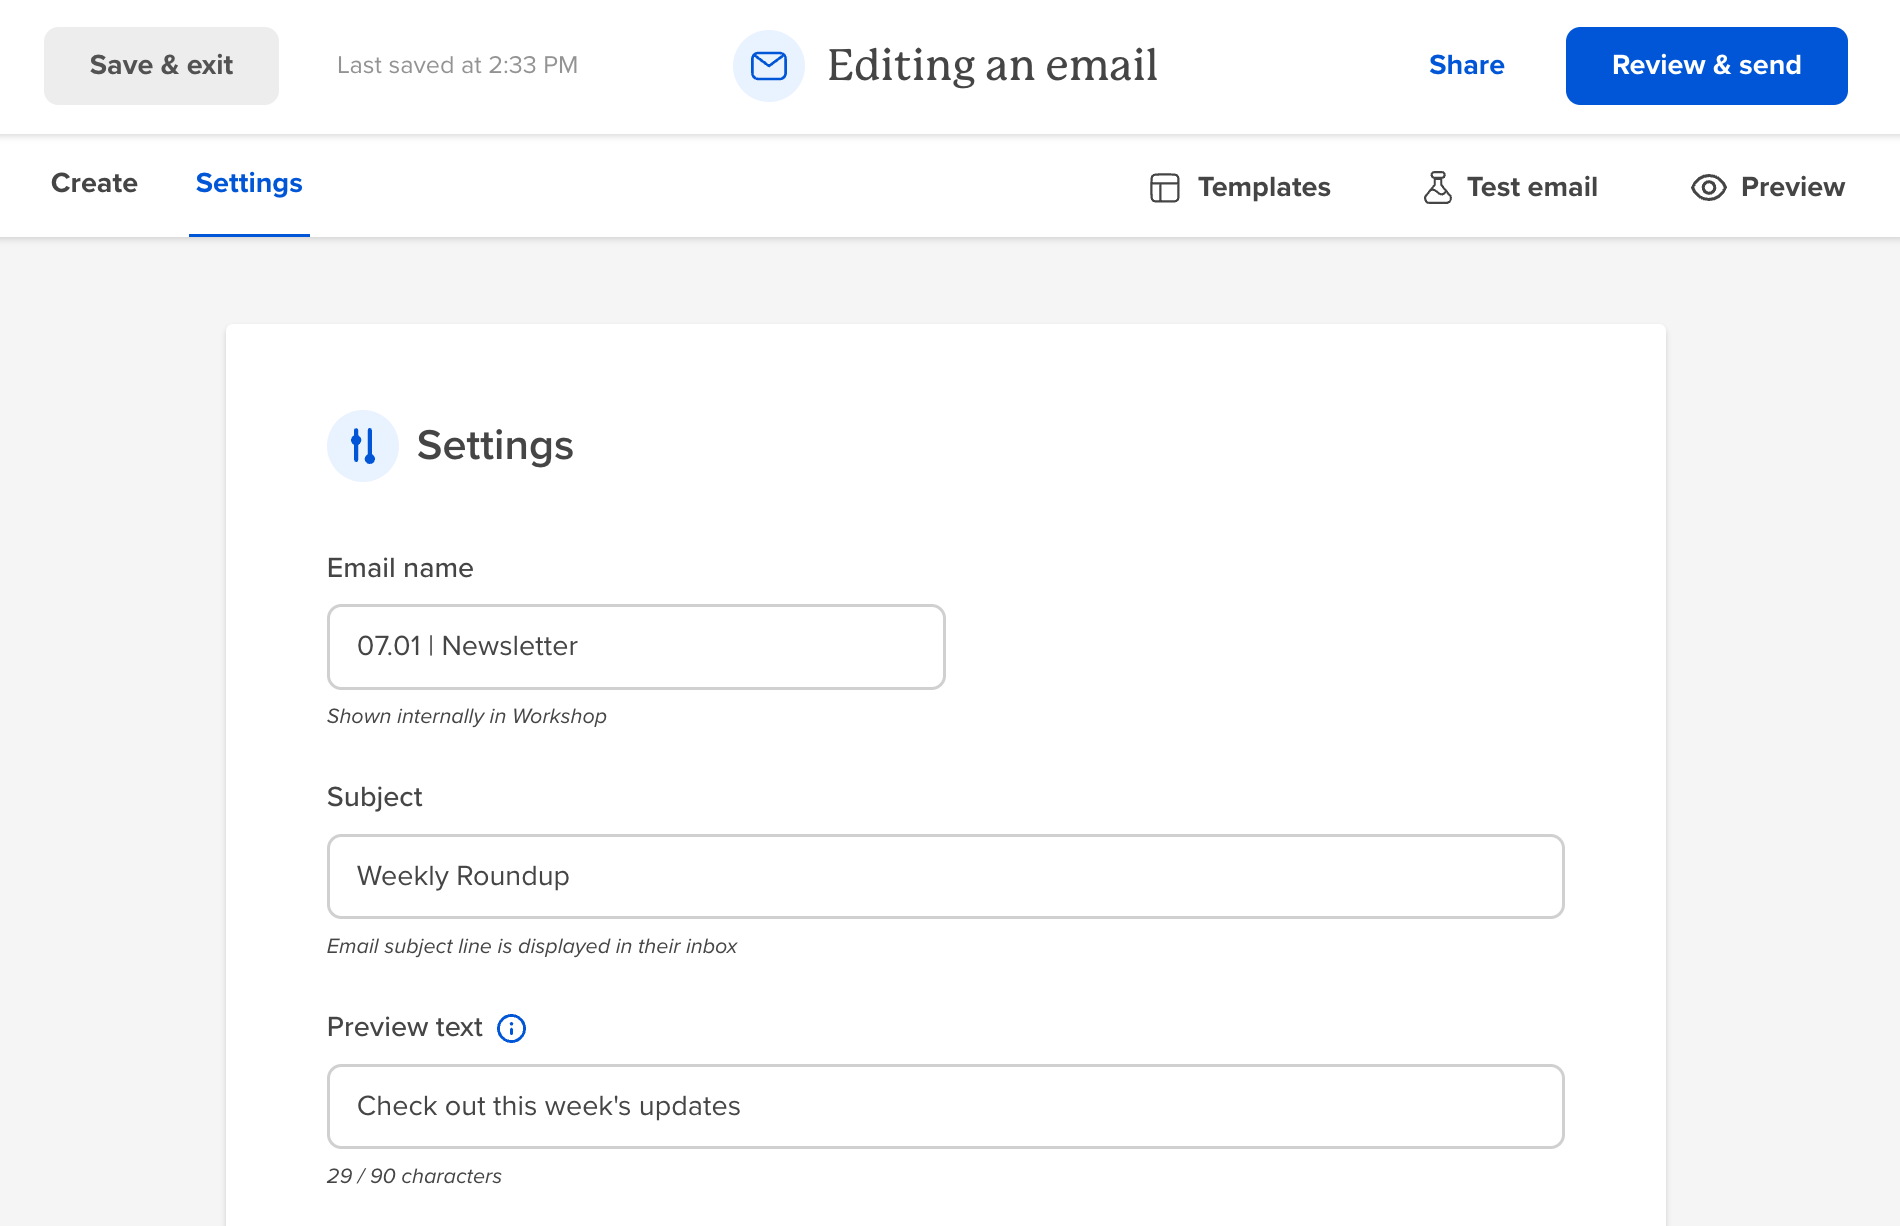
First, select an email name. This is an internal specific name that only shows up in Workshop so your employees will never see this. It’s helpful to create a consistent naming convention for emails so you can easily search for them inside of Workshop’s platform.
The subject line is what will appear to your employees when they receive the email in Outlook or Gmail. This should be a short but catchy phrase that motivates people to open your email.
Preview text is helpful if you want to show a couple lines of text in the Outlook preview panel. This gives employees a sneak peek of what’s in the email.
The From Name is sender of the email (not the email address!), which can be a person, department, or organization you're sending the email from. It is highly visible in the employee's inbox. It might match the "from email" but doesn't have to, it might look like "Communications Team," an individual's name, or your company name.
The From Email is where you can select which email address your email will come from, this is a great way to ghostwrite emails on behalf of leadership or others within your company.

Campaigns allow you to group together a series of emails like your weekly newsletter to gather analytics on the entire series. If you forget to do this when sending, that’s ok because you can always add an email to a campaign after it’s been sent.
If you want to see how this email will appear in employee’s inboxes, click on the inbox preview and make any modifications directly from the inbox preview pane.
Add your employee list under “Recipients” you can add multiple lists and people in this section. If an employee is part of multiple lists they will only receive one copy of the email so don’t worry about duplicates.
If your plan includes additional notification channels they’ll appear here, this allows you to share your email in other channels such as SMS, Slack, SharePoint or Teams. This is a great way to increase the visibility of your email. Include a catchy and captivating preview message here to encourage employees to click through and read the full message on their browser. When they click through they’ll see a browser based version of the email. You’ll also be able to capture click through analytics on each specific channel. 
Final step! Choose whether you want to send your email now or schedule it for later, please note the time zone that you're scheduling your email for.
Tutorial:
Once your email is ready to be sent, go to the Settings tab to manage the subject line, recipients, and more.
- Select the Settings tab above your email content on the top left
- Enter the Email name: this is an internal name for your message - only other Workshop users at your company will see this
- Enter the Subject: this is what shows up on the subject line of your email
- Insert Preview text: this text will display in the inbox of recipients
- Edit From name: who should this email be sent from?
- Insert From email: what email address should this email be sent from?
- Optional: Your Workshop account might have a Reply to email option, if so it is a required field. This is where emails will be sent if a recipient replies to the message.
- Insert a Campaign name if applicable
*Preview the email by clicking on Inbox Preview
- Enter email addresses of recipients: search each recipient’s name or utilize distribution lists
- Select any other channels you want to send notifications through:
- If you choose Sharepoint, Teams, and/or Slack it will ask you to select the channel to post the notification in, ask you to customize the message, and include a link to a web version of the email
- If you choose Workvivo, you’ll select what audience you want to cross post to, the title and subtitle of the post, and an image to include
*Preview the post for each channel by clicking the Preview button
- Decide to send the email now or schedule it for later
- If you choose to schedule it later, select the date and time
- Click Review and Send